“How do I add an IP camera from my network?”
Hey everyone, Joe here from SCK, and today we’re going to be answering the question: “How do I add an IP camera from my network?”...
How to Set up Auto Tracking on a PTZ
Hey everyone; Joe from SCK here- and today we're going to cover a topic we get asked about quite a bit, and that is “How to...
How to set up Security Alerts on Your Smartphone
Hey everyone, Joe here from SCK with a really quick guide and video on “How to set up Security Alerts on Your Smartphone”, also called 'notifications'....
How to Compress and Test Coax Cable
Hi everybody, Joe here, and we have for you a tutorial article and accompanying video guide on yet another important topic regarding CCTV hardware and Cabling which is:...
How to set Presets and Tour on IPPTZ
Hey everyone, Joe here and today we have a quick, but highly requested guide for you and accompanying video to cove the question "How to set Presets...
Set Up P2p on your Security Recorder
Hi Everyone, Joe here from SCK with other articles and accompanying setup vid; Today we're going to be getting our Elite Recorder Ready for remote viewing by showing...
How Can I Reduce False Alerts?
Hey everyone, Joe here today with our brief introductory video in our new series on answering the question “How Can I Reduce False Alerts?” So first, what do we...
How to View my DVR or NVR on my Smartphone
Hi everyone, Joe here with a highly requested tutorial on "How to View my DVR or NVR on my Smartphone". We get asked this question...
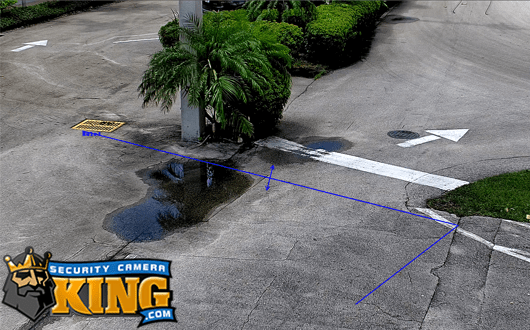
How to find IVS footage Quickly
Hi everyone Joe here with a new article, and accompanying video guides for you; Today, we're going to cover "How to find IVS footage Quickly". So what is IVS...
Find Motion Footage Quickly on your Security NVR, or DVR
Hi everyone, Joe here, and today we have a really awesome tutorial for you on "How to Find Motion Footage Quickly on your Security NVR,...
Best Active Deterrence Camera Set Up
Hi everyone, Joe here with an article and two awesome videos for you; and Today we’re going to show you the process for "Best Active Deterrence Camera Set-Up". So...
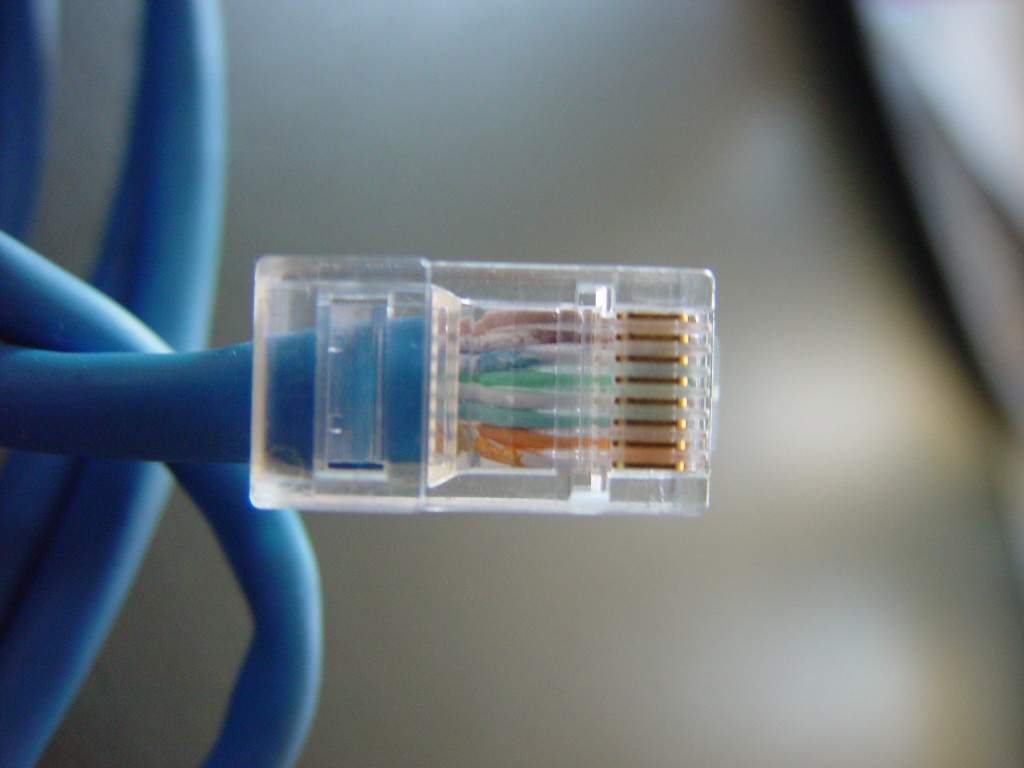
How to terminate and test Ethernet Cable
Hi everybody, Joe here, and we have for you a tutorial article and accompanying video guide on yet another important topic regarding CCTV hardware and networking which is:...
How to Troubleshoot Video Loss on your CCTV Recorder
Hi everyone, Joe here, and today we've got an article and accompanying tutorial video covering "How to Troubleshoot Video Loss" on your CCTV Recorder. This guide...
How do I save hard drive space for my recorder?
Hi everyone and thanks for joining us today as we discuss an important question we get asked from time to time: "How do I save...
How To Set Up IVS Tripwire And Intrusion Detection On An Elite Recorder
Hi everyone! Today we have an instructional video and accompanying article. In this tutorial, we will be covering how to set up...