We all have seen crazy installations from low voltage, Electronics, Networking etc… Many will not realize that there are a set of rules or Codes to abide by when it comes to these installations for a good reason. But, even when abiding by these rules, people tend to not take pride in their work by not caring enough for every single thing that they do when it comes to installing a product in a Customer’s home or even in their own home or business.
I take it to the next level when it comes to my own installations and there is a reason why I do this. I take pride on what I do as an Installer. I want to look at my end product and have it look like a work of art… something to be proud of. I’m addicted to this, as this level of attention to detail can be accomplished if we only take our time and forget about everything else and just focus on the task at hand.
I’m going to be talking about what to do and what not to do when it comes to CCTV Installations. As many of you know I live in Florida, and many of the homes here have a good spaced attic while some do not. I bring this to your attention because in every one of my installations, I not only install the cameras, or whatever product it may be, but I also ensure that there is no other system in the attic that I have access to that is not working properly. Maybe the last electrician installed some high-hats and disregarded the A/C vents and now your A/C system has a leak which equals in your energy bill being higher, as well as your attic getting mold from the high moisture and your vents not being able to handle this.
I recently installed a Surveillance System for a friend and found some horrible things in the attic of the home I was working on. Keep in mind I was there only to install some lines for a New Camera system.
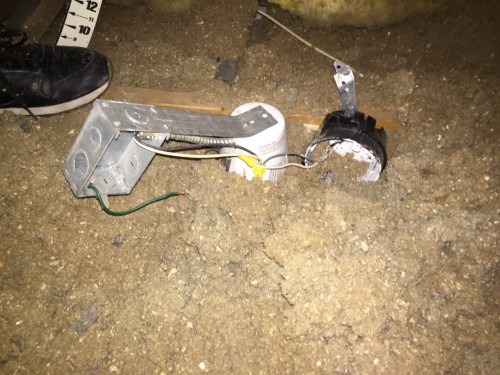
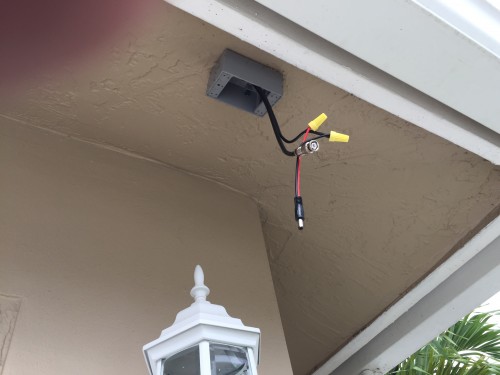
As you can see this image shows an old junction box that has no cover and coming out of this junction box are two conductors that are spliced into two other conductors that come from a High-hat. The cover is nowhere to be seen in this attic and this is a code violation as this could cause a fire.
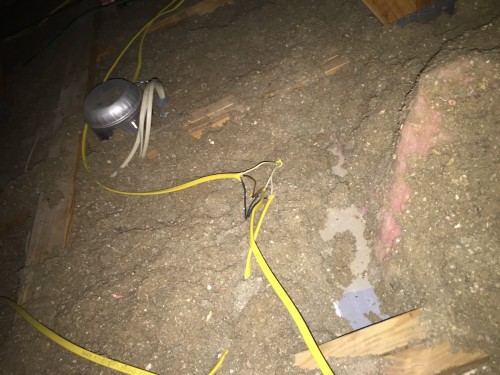
There are other issues such as a junction point without a junction box as seen in the picture below. This can be fixed by having these inside of a high-hat and making the connections there or having a junction box that is accessible from the living area.
One big No NO shown in the next picture is that the previous installer cut into the structure to make room for the “Romex” cable. This is not up to code and could cause it to collapse, causing injury or death to the occupants of the home.
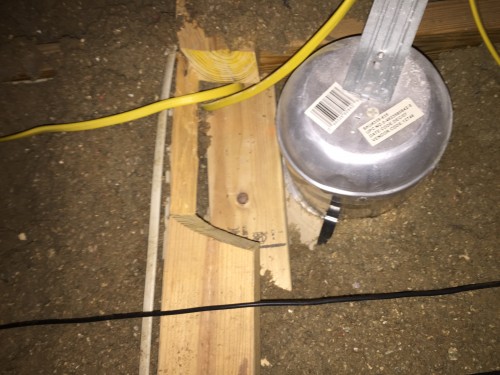
This location was almost at the end of the home in a location where the home owner would have never seen this unless I had pointed it out. After informing the home owner about this, I gave him a phone number to a licensed electrician to get this issue resolved. Hopefully they go ahead and call and get this repaired.
Lets move on to the installation in an attic. Make sure you have gloves, a light, and a mask to keep the insulation away from your lungs. Keep in mind that you will need to keep well hydrated and monitor your heart rate. Attic CCTV Installtion is also something not recommended for people with claustrophobia as in some locations, the attic can be within a foot where you can only crawl to the location where the “drop” needs to be. One trick is to have a two by four [2×4] wood at no less than 16″ in length to move from the trusses as well as sneakers to move along the beams so you do not disturb the drywall and create an issue for the homeowner.
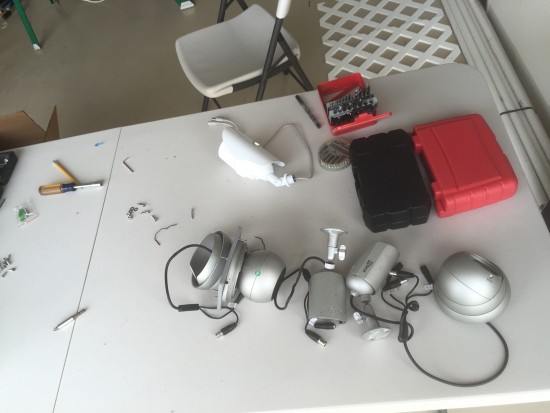
Here is a random image of the old cameras and a new camera.
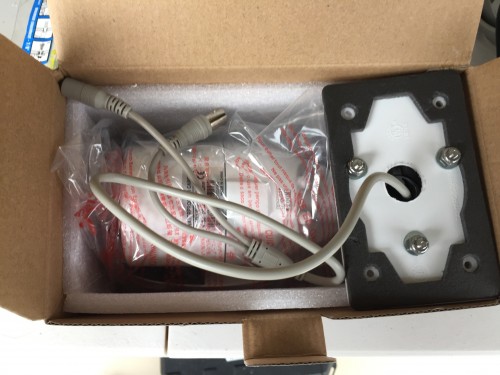
In the next image the cameras are being prepped for installation. A 2×2 PVC box lid is used and a 1/2″ hole for the center hole where the cable is ran. The camera is bolted with the “nut & bolt” solution. This keeps the connections inside of the junction box and everything is weather tight.
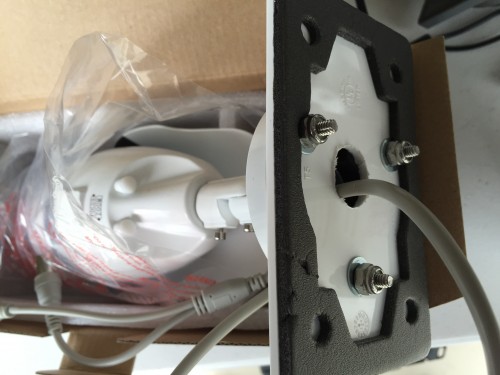
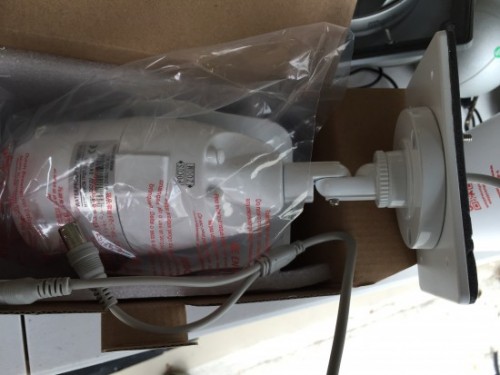
Very beautiful 😉 After this has been done, the compression fittings and flying leads are added to each of the boxes. I utilized wire-nuts for a mechanical connection.
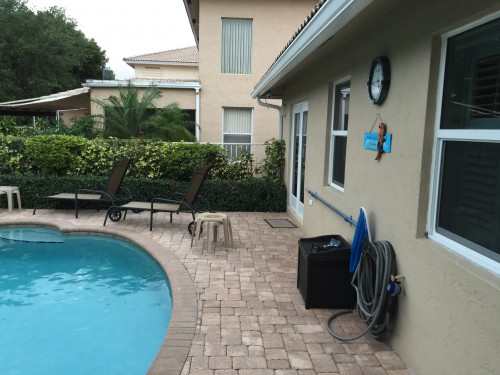
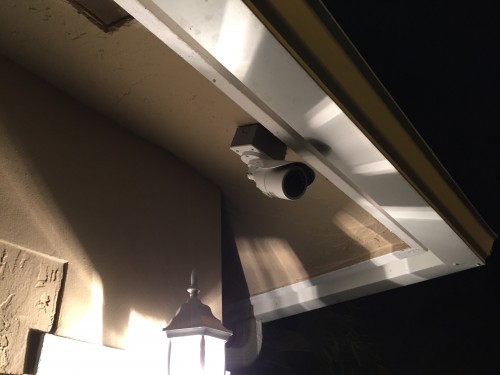
I added a Dome Security Camera on the side with the pool, one with a variable Focus Lens which will give me 109 degrees for a wider picture so that the homeowner can monitor the sliding door that is located in his bedroom along with the area of the pool.
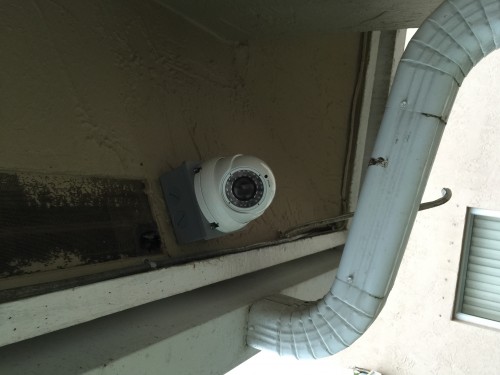
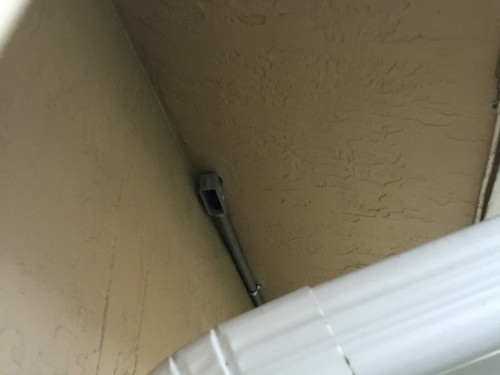
This camera had a cable that had been run from the opposite of the home leaving it exposed to vandals as they could have cut the cable and rendered this camera useless. They also ran the cable from one of the vents instead of running it to a junction box. This was the hardest camera to get to as it was less than a foot tall in this area in the attic. I used the glow sticks or like many would call it “push rods” to extend my reach to a 3/4″ hole that was made and then fished the cable through. It took some time but its the proper way to do it.
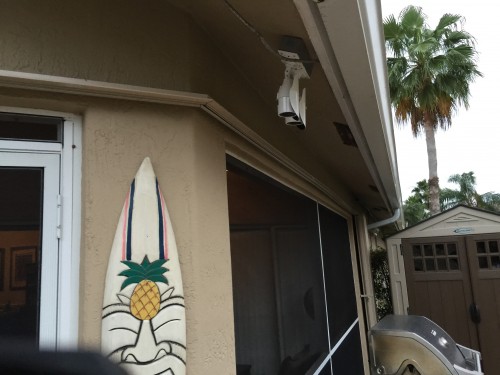
Here are some cameras on the left side of the home. Once they are positioned they will look in opposite sides.
Here is the image of the location where I had to go out to the side since there was a firewall impeding me from running the cable inside of the attic. This is an “LB” with schedule 80 PVC conduit.
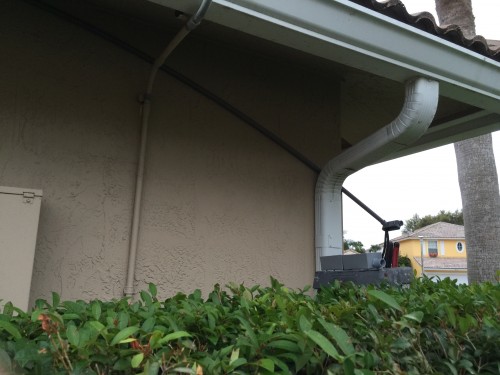
The image above shows the conduit being molded with a heat gun since there was an imperfection with the eave.
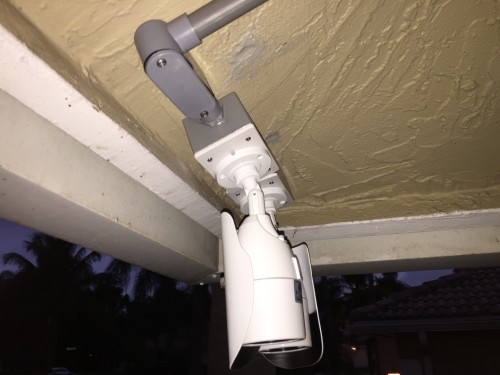
Above is the Final product for the cameras that where run in conduit. One “LB” with two 2×2 boxes. Of course these are not yet adjusted and we will do this at the end of installation and let the homeowner decide, while giving tips on what to expect from the cameras.
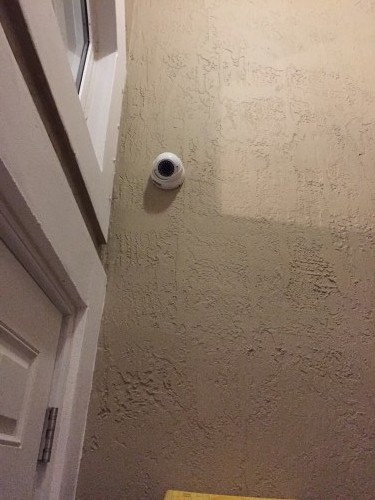
The picture above is the front door with a variable focus lens that can be adjusted to only get the narrow entrance.
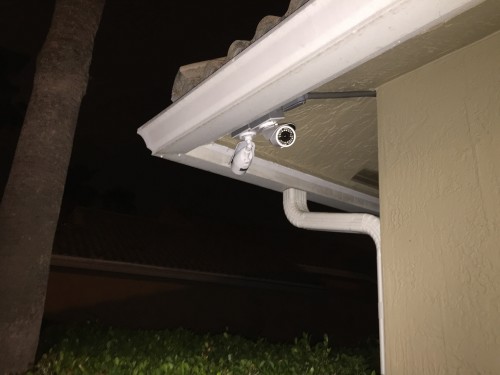
And here is an image of the conduit side with the cameras adjusted. 😉
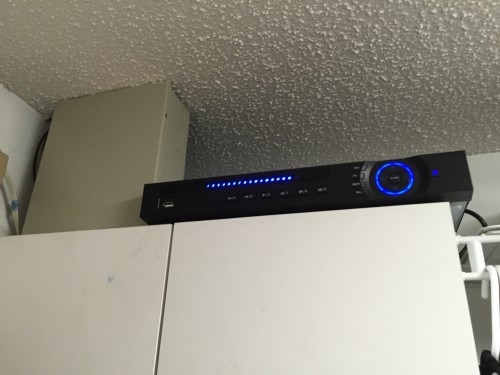
Final Product! Power Supply and Security Recorder tucked away up high out of reach.
The customer was happy at the end of the 12hr day. I was tired and beat but proud of the work that was done. Here is a good article that goes into more detail on how to make these boxes and install cameras. When it is all said and done its better to do it the right way the first time then to come back and fix something later for an error you made and not the homeowner.