Welcome to all who stumbled upon this article. In this segment, I will be discussing three different ways to access your device and cameras. In order to do so for remote viewing be sure you have already taken the necessary steps of creating port forwarding rules on your Local area connection. If you have not done so, I implore you to check out my previous post, Basic Port Forwarding for the DVR & NVR. Now that’s been established lets proceed. No matter what series DVR/NVR/MegaPixel camera you have of ours, the following applies to all. Let’s begin by getting our communication established via web browser Internet Explorer.
Open Internet Explorer. If your Operating System is Windows Vista or Windows 7 (the 64 bit version), find the Internet Explorer icon on the task bar, right click and “Run as Administrator”. There shouldn’t be an issue for Windows O/S 8, just make sure your opening up the desktop version and not the quick app. Once the browser is open and loaded, go to the tool bar at the top and left click on “Tools”. Then proceed to the “Internet Options” and left click on this tab. Left-click on the “Security” tab and Left-click “Custom Level” button.
In the pursuing menu that pops up, scroll down a little to the ACTIVE “X” segment. Continue to scroll till you locate “Download signed ActiveX controls” and “Download unsigned ActiveX controls”. Set both to “Prompt”. Click on OK, then Yes and the window will disappear. Then hit apply and okay and then that window will disappear as well.
Close out of Internet Explorer, and then open Internet Explorer again to ensure the changes you made are saved. Now, when you connect to the DVR, you will get a prompt on the top of the page to download ActiveX from an unknown publisher, click on it and choose the “Run” button. If another “Security Warning” appears after clicking the “Run” button just click on “Install” to finish the ActiveX installation process. Within moments you will see the log in screen of your DVR. If the page displays in a funky manner please locate the “Compatibility View” button and click on it. It usually located in the web address browser to the right, usually an icon of a sheet of paper torn in half. This should clear the corrupt/wacky display value you saw before. Don’t worry, these steps are only necessary when connecting to your DVR for the first time. After these changes are made you should not have to repeat these steps on the same PC.
Now we will input or address (whether a DNS address, static IP, external IP or local IP) in the following format:
Affordable Security Solutions

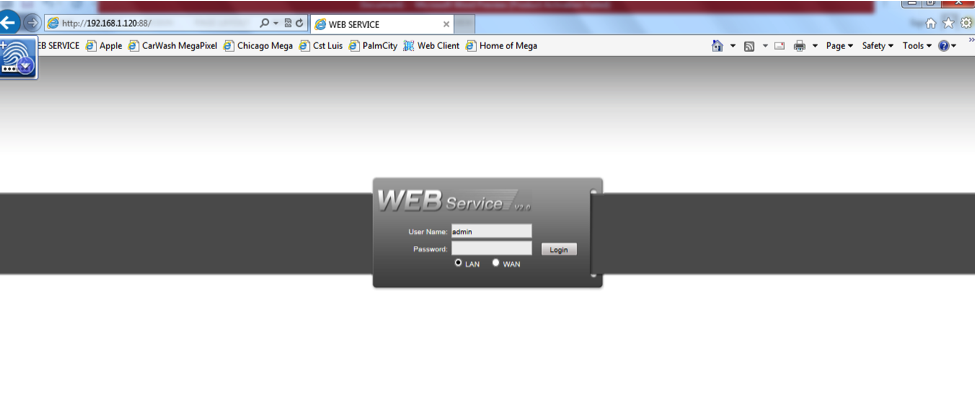
Keep in mind I am using this address as an example, your network IP will be different. If you have already assigned an HTTP then the address will look like so:
http://192.168.1.108:88 or whatever port you made it. You can learn more on this at: Basic Port Forwarding for the DVR & NVR.
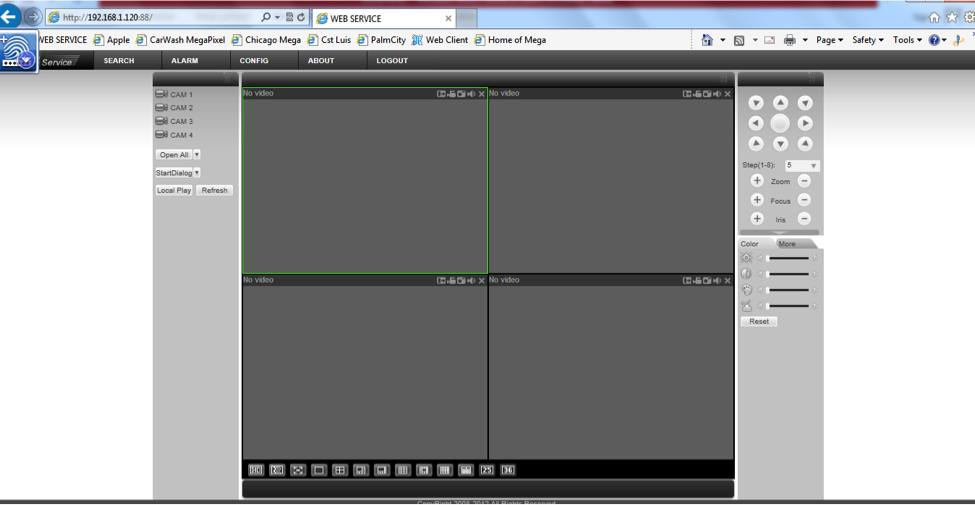
Once you enter your address hit the enter key to continue to the address destination. Shortly WEB SERVICE will display. Proceed to enter in your User name and password for your DVR and select “LOG IN”. The ensuing page will be the displaying server that’s built into the DVR itself. You may open one channel at a time by highlighting a square and choosing your desired channel to appear in said square or you can hit the “OPEN ALL” button to display all your cameras simultaneously.
Connecting the DVR/NVR to Your
SmartPhone and/or Tablet
(Yes, there’s an APP for that!)
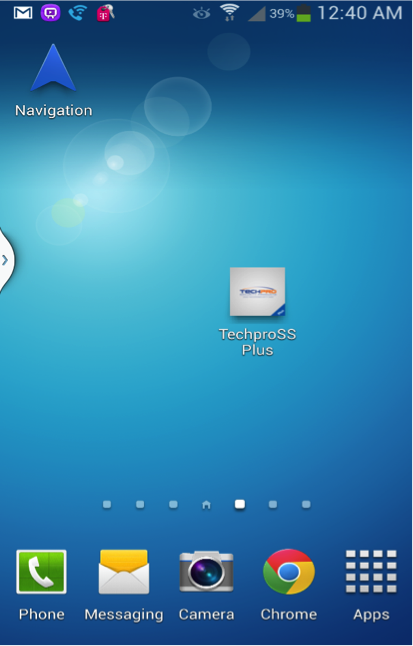
This approach is different. In order to communicate with and access your DVR you will need to download our APP. We have a free one we offer our clients as well as a more advanced paid APP that allows you the ability to distinct features of the DVR. One of them being the ability to review footage from the APP (The Extra Stream needs to be set to record for this to work). First proceed to your respected APP store such as Google Play or the Apple app store. Type in the search field: TechProSS. Choose your desired version and download to your device. Once installed open the app by clicking on the TechProSS icon.

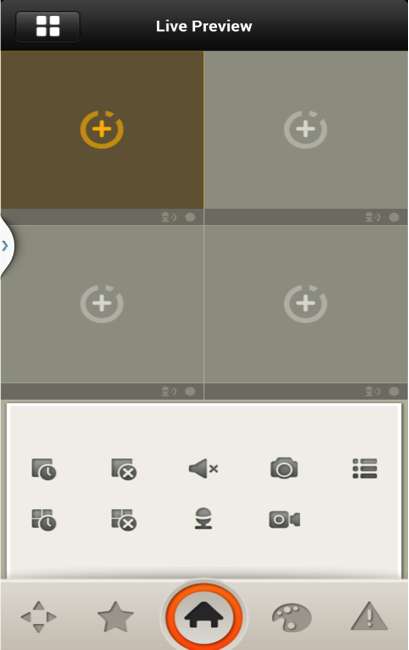
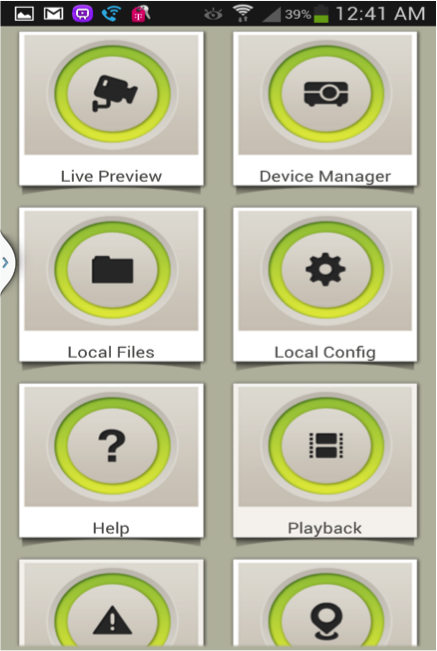
Once the APP has loaded go ahead and click on the four square icon in the top left corner. This will take you to the OPTION screen:
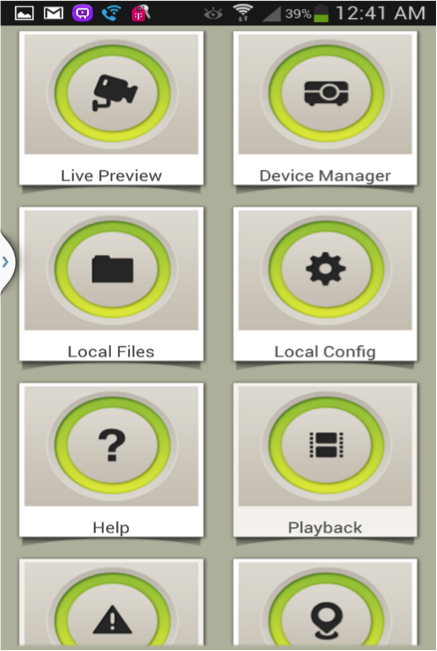
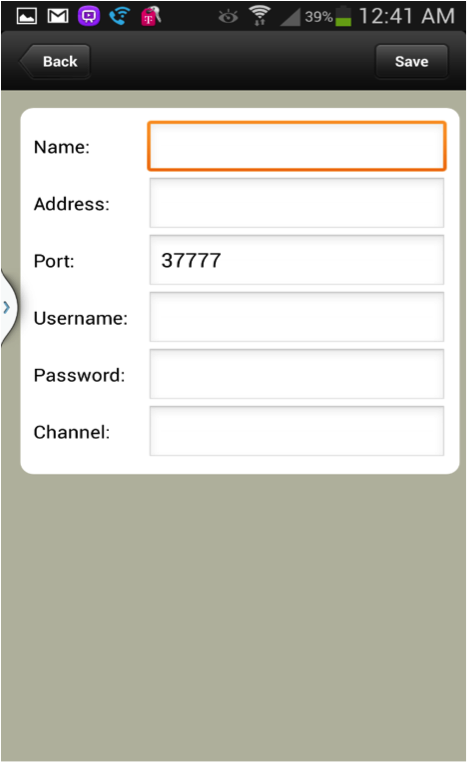
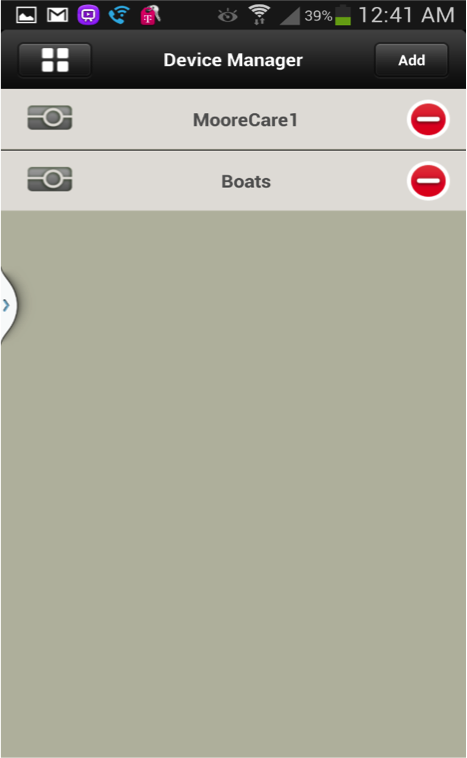
Click on Device Manager and then hit the ADD button in the top right hand corner. Choose the “Manually ADD” button when prompted and the next screen to appear will be the configuration field for adding a new device. In here you will perform the following:
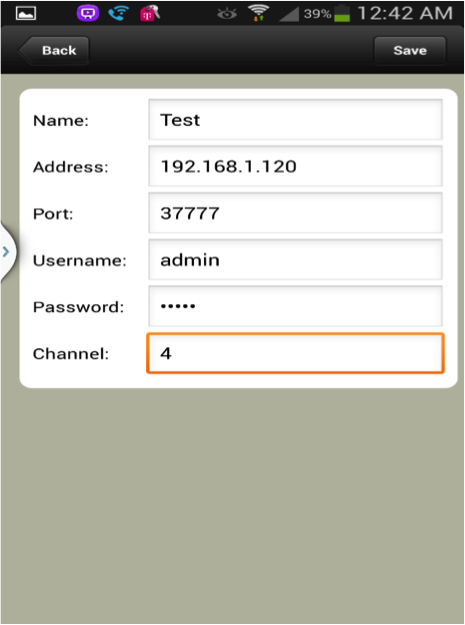
In the first box starting at the Top will be your devices name. You may call it whatever you like, this has no diverse effect on connecting to the DVR,
In the second field you will enter in your IP address, the NUMBERs (or name if a DNS address) ONLY!!!!. If you input in this field as you learned how to for Internet Explorer the connection will NOT work.
In the third field you will input your TCP port that you designated for your device for your network.
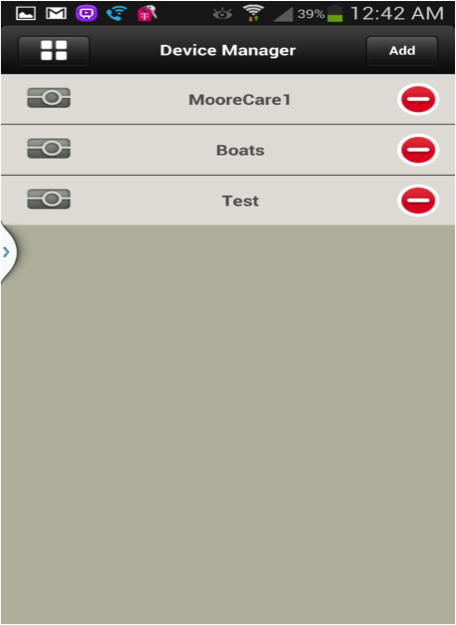
In the fourth box you will Inout your Username for the DVR and in the fifth Box the password for the DVR as well. In the final box will be the amount of channels your unit it. For instance, if you have a 16 NVR with only to cameras attached to it, you still will put 16 for the amount of channels. Once this step has been completed hit SAVE in the top right hand corner and you will be brought back to the DEVICE MENU.
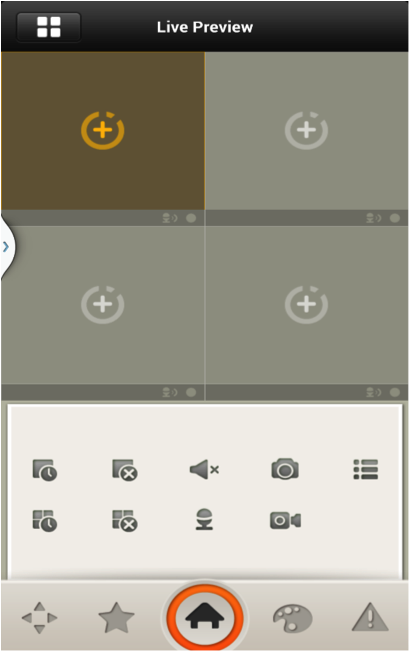
Hit the Icon of the four squares again to be taken back to the OPTION screen. From here click on Live Preview and page with four windows will appear. Click on a plus sign in one of the windows and a device list will drop down. Choose your newly added device and the desired channel you want to view. If everything is in order your camera will appear in this screen. Proceed to repeat the last steps for each window.
How to Attach Your DVR to a Display Monitor
All of our devices have the following for Video Out Display: VGA, HDMI, and Video OUT (with the exception of the NVR mini). By default the DVR/NVR is set at a resolution of 1024×768. If your monitor does not support this resolution it WILL NOT DISPLAY. All of our devices also support 1280×1080 & 1920×1080. Please be sure your desired displaying monitor or TV can handle these resolutions before selecting. The video out source can be attached to your TV or monitors RCA component video in section. No matter what the DVRs resolution is set to, through this video out put, the DVR will Always display. You may also need to make adjustments for this particular output to display within the ration of your screen. You may adjust this by completing the following:
Right click on the mouse of the DVR -> Main Menu -> Advanced -> TV Display. In this menu you can widen or shrink both the horizontal or vertical lines to fit the aspect ratio of the monitor. This feature is ONLY for the video out of the DVR.
Please be sure your VGA cords are no longer than 50ft from DVR to display and your HDMI cable no more than 25ft. If longer desired lengths are needed for your criteria, please be sure to implement the correct boosters to ensure signal quality.