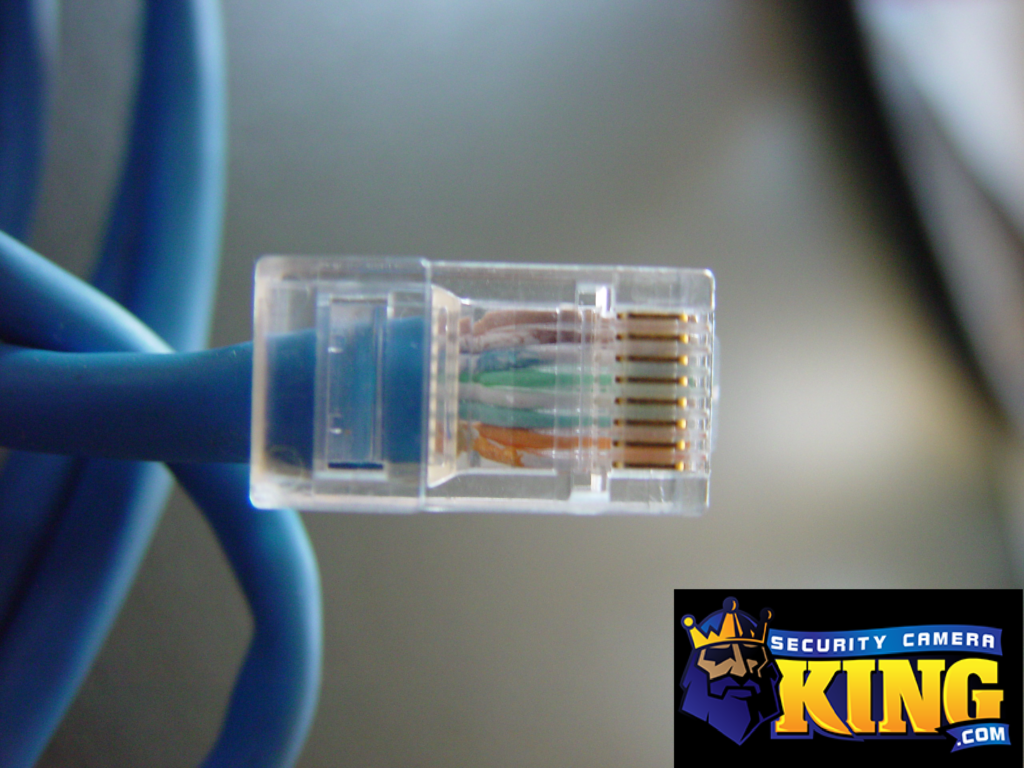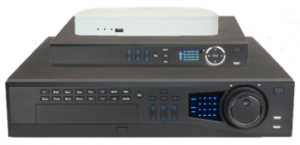
Here at Security Camera King we have a variety of surveillance products that can help protect a home or business from crime. The products range from DVRs and NVRs to all the connectors that are needed to connect the cameras to the systems. Setting up a surveillance system DVR, which includes Analog, HD-CVI, and HD-SDI, tends to be easier to put together. When it comes to NVRs, they are working through a network and can be difficult if you don’t know what your doing. The biggest tough spots for this system are when connecting the system to your network, connecting your cameras to your network, and adjusting the frames and resolution of all the cameras to manage bandwidth and NVR load. IP camera systems are very advanced systems and if done properly can give the highest resolution in the industry.
Setting up an NVR has many steps before it can function properly. First things first is running cable for where you want cameras. Next is mounting cameras on a building or anywhere needed. After you have all of that done you can now properly connect your NVR to your network. You need to power up the NVR with the provided power supply and attach any necessary cable such as mouse for controlling the NVR’s interface, Power cable for built-in POE, Monitor for viewing the NVR’s interface, and lastly an ethernet cable that leads back to your router or a switch connected to your network. Now depending on how you want to manage your camera whether you want it on its own network or connected to your existing one there are different ways of accomplishing your goal. Setting up the NVR for earthier style is the same you need to assign a static IP address to your NVR so that you access it locally and remotely. The way to do this is by going to the “Main Menu” on the NVR (When doing this you will be prompted for username and password which is “888888” for both), then you need to go to “Settings”, and; “Network”. This is where you enter the IP for the NVR. By default the IP should be “192.168.1.108” and the “DHCP” should be unchecked. Now you can enter an IP address, Subnet, and Gateway of your network so that it has it’s own individual address on your network. This is all you have to do to set your NVR to your network and the next step is to start connecting your cameras to your network.
With the cameras mounted and the cable running to the destination of your choice either by your NVR or a spot in the attic/roof where your switch will be you can now start connecting your cameras to your network. Before you just plug all the cameras in at once you need to know what you want to plug them into. If you are just plugging them all into the POE built-in to the NVR then you can just plug in the cameras one by one till they show up on the NVR’s interface. This is the easiest way to connect cameras because as you plug them in, the NVR self-assigns an IP address to each camera. (This is only possible with our NVR’s and the EL Model Camera). Also when connecting your cameras this way makes the cameras only manageable by the NVR. If you are connecting your cameras to a separate switch then it requires a little more work. You have to connect the cameras in one by one just like before but before you connect another one you have to change the address for the camera. You can do this 1 of 2 ways, you can change it thought the NVR (This is only possible with our NVR’s and the EL Model Camera) or you can change it on the web interface built into the camera. The easy way is to just change it with the NVR. The way to accomplish this is after the camera and the NVR are connected to the switch, you search for the camera in the “Remote Device” section from the “Main Menu” and click edit next to the camera on the network. (Default is 192.168.1.108). After that is complete just repeat with every camera you want to connect. You can also adjust your color settings in this menu so that you don’t have to login to each camera and set it to the way you want. This can come in handy when you have a lot of cameras to manage. This is the process to connect your cameras to an NVR.
Now that the cameras are connected you need to adjust some settings on them to achieve maximum power out of you NVR. All the NVRs we sell have a certain number of frames or max bandwidth that it can handle. It’s important you know what the amount is because not all of them are the same. Once you figured out what the limit is you can adjust your cameras. To do so you need to go to the “Main Menu” on the NVR, “Settings”, and “Encode”. Here you can select the camera you want and adjust the frames and the resolution you want it to record at. You may also want to adjust the “Bit Rate” but you need to know what your doing or you can diminish your video quality. To copy this to other cameras in your NVR just adjust one camera the way you want and then click “Copy” and choose which cameras you want to copy the settings to. Under the same “Settings” menu you can adjust the schedule of when your camera records and if you want it to record 24/7, motion, alarm, or all three.
Compared to DVR’s, NVR’s are more difficult to set up. Setting up the IP for the NVR so that the NVR can be accessed locally and remotely. Connecting all the cameras to the NVR one by one assigning IP address to each camera. Lastly adjusting the cameras and NVR to get the most performance out of your NVR’s. Knowing these steps will make it easier to add an NVR for your surveillance needs