In today’s world every electronic device can be connected to the internet to have access from virtually anywhere. Like the commercial says “There is an App for that”. Today I will spend some time explaining our camera app; how it works, how to configure it and how to get the most out of it.
First thing you need to know is that the app only works with our DVRs, NVRs and Megapixel Cameras. If you have tried to use it with other equipment, unfortunately it will not be able to connect to those devices.
There are two versions of the app, one is free and the other is a paid version that allows you to configure more in-depth settings.
In this demonstration I will be using TechproSS Plus (Paid Version). I will be configuring a few devices and I will show how easy is to configure and access these devices.
To start, go to your app store and download the app. For Apple devices go to the Apple Store (App Store) and for Android devices you can go to Google play app store. The icons of these manufacturer’s app stores will look like these:


After the apps have been downloaded to your phone, tap on the icon to open it and start setting up your connection to the device you are trying to connect.
The following screen will show up when the software is opening:
 |
 |
|
 |
Icon Descriptions
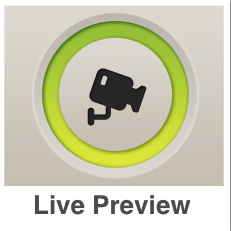 |
Live Preview: Allows you to display live video of your cameras connected to a recorder. You have only 4 cameras you can add to the app. |
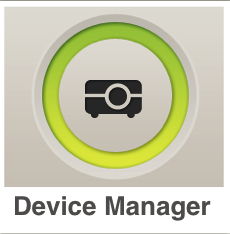 |
Device Manager: From this window you can add your Devices such as IP cameras, DVR and NVRs. |
 |
Local File: Allows seeing any footage you have recorded directly on your phone. |
 |
Local Config: Configuration of PTZ Speed, enable password for the app and snapshot timing. |
 |
Help: Provides general help tips for this app. |
 |
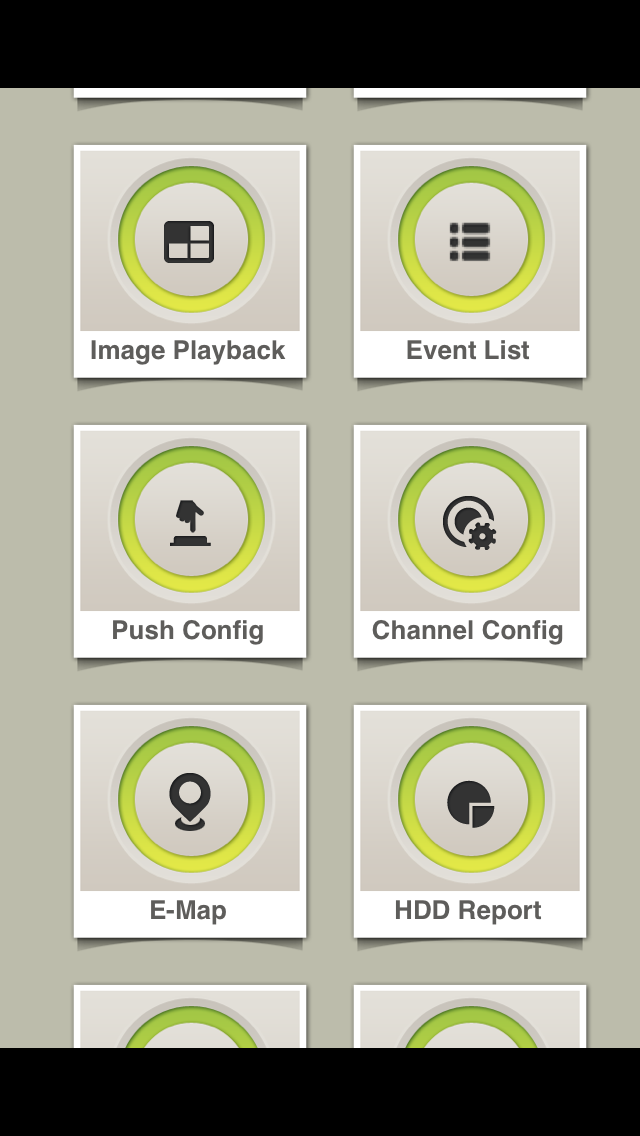
Playback: This option allows you to review footage up to 4 cameras simultaneously. |
 |
Event List: Display push notification archived events. Click on any event to access recorded footage. |
 |
Push Config: This is one of the coolest features of all. Select a device you want to receive notifications from, and choose the type of notification you wanted to get. You have options such as Motion Detect, Local Alarm, Camera Masking and Hard Drive Alarms. |
 |
Channel Config: Setup the resolution of the Sub Stream of your DVR. Configure how many FPS (Frames per Second) and the Bit Rate each channel will be using. Enable Audio recording or change the camera name if you like. |
 |
E-Map: If selected; it will allow you to add a graphical Map of your location and you can place the cameras of your DVR in the map for quick and easy access. |
 |
HDD Report: Review the status of the hard drives installed on your DVR, NVR or IP camera. You can see how much space is left on each hard drive, status (Hibernating or Active) and total capacity of the drive. |
 |
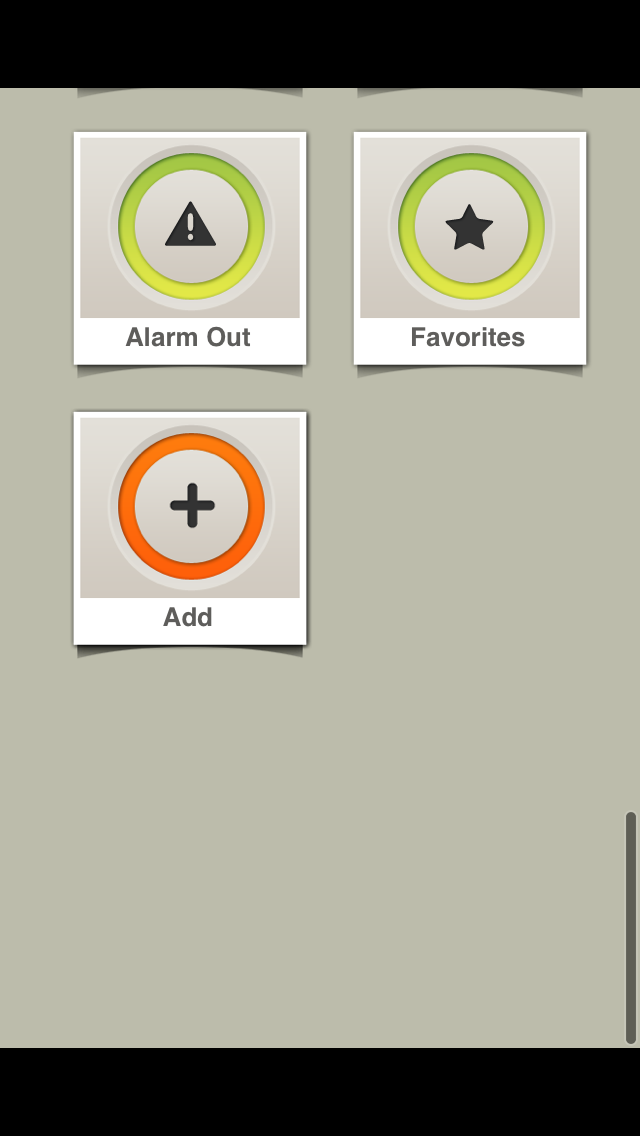
Alarm Out: Activate an alarm output of your recorder. You can activate a siren, a strobe light, flood light and any kind of devices connected to it. |
 |
Favorites: Add your favorite cameras from one or multiple units for easy access. |
 |
Add: This option will allow you to add or remove features of the software. |
Adding Devices to the App
Adding a device is very simple. Click on device manager to add the recorder’s information. You will need to assign a name for the device. This name can be anything you want that will be easy to recognize for the recorder you are connecting. In addition you will be able to see if the connection is using the internal IP address of the device or the external IP address of your network.
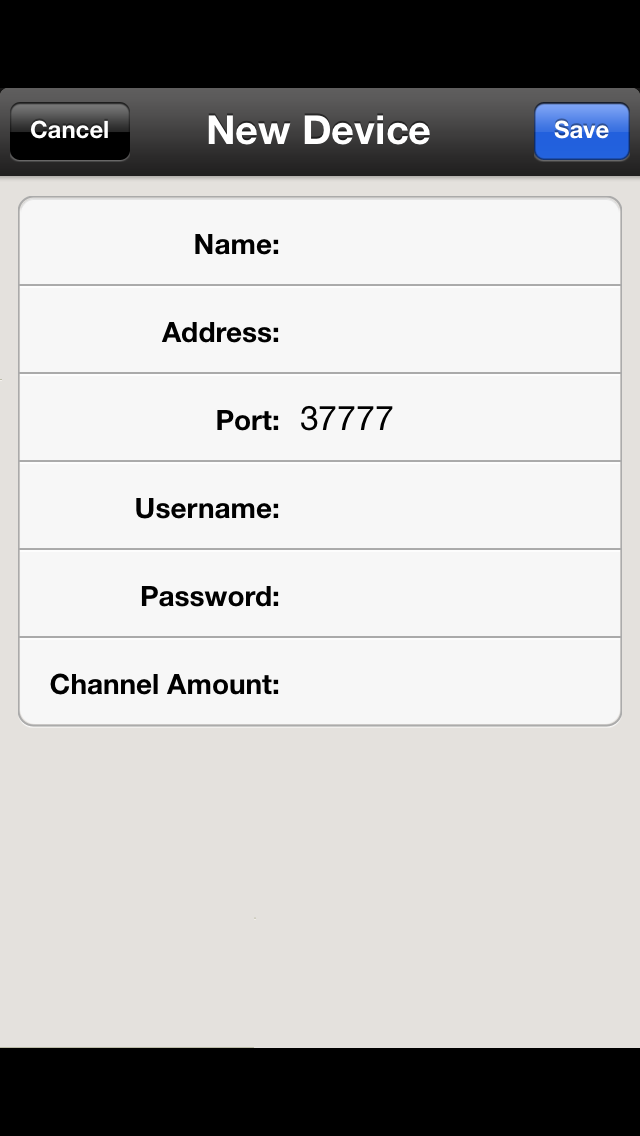
Address: IP Address of the Recorder
Port: UDP port of the Recorder
Username: Login Username of the Recorder
Password: Login Password of the Recorder
Channel Amount: Total Channels of the Recorder
NOTE: To locate the internal IP address and UDP port of your DVR, go to MAIN MENU>SETTINGS>NETWORK using the mouse of your DVR. To find the external IP address of your network go to www.canyouseeme.org.
You can now tab on the save button and go back to the main interface of the app by clicking the window button located at the top left corner of the app interface.
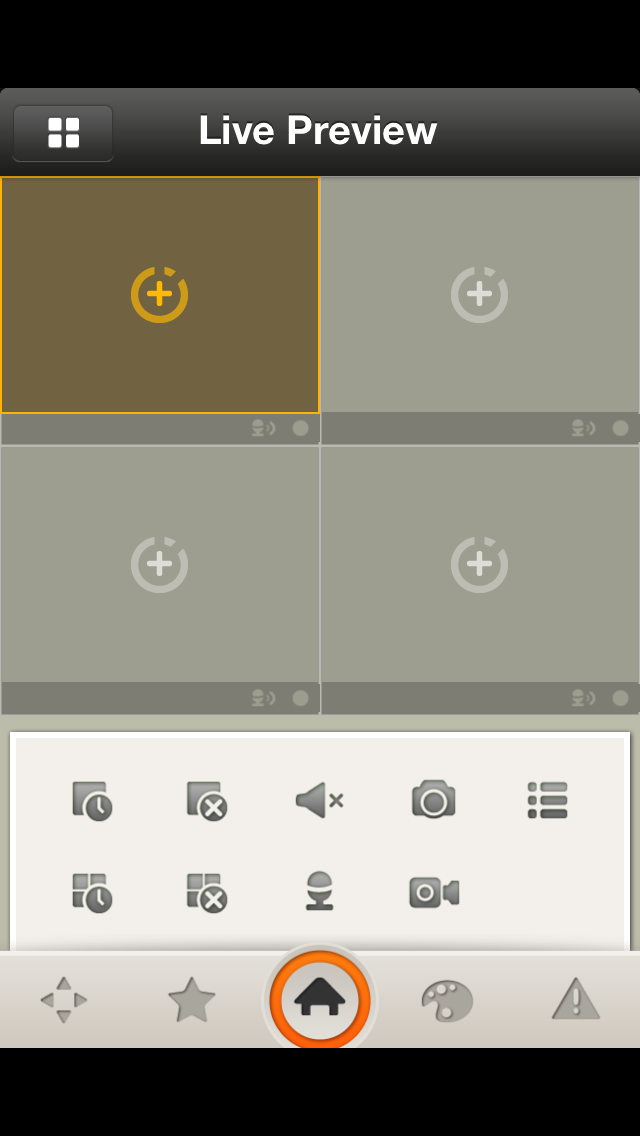
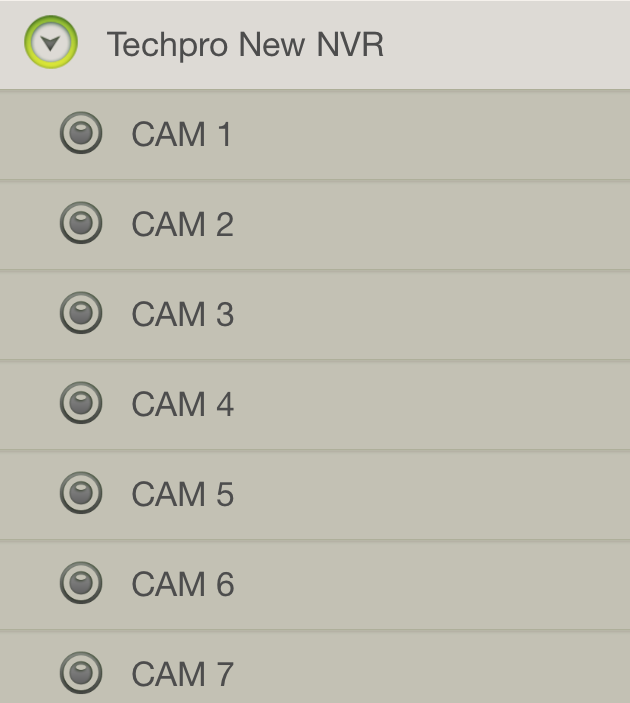
If you are ready to stream video simply click on Live Preview. The interface on the right will appear for you to add cameras to the windows. Click on the (+) sign to select a camera of the device you added previously, e.g. if you named your Device “ Techpro New NVR”, then click on the arrow next to the name to see your cameras.

Select any of the cameras on the list to start streaming video on the selected channel. Repeat the same steps with any of the other cameras you would like to add to the app.
The screen shown on the bottom will appear after all of the cameras have been added to the software.
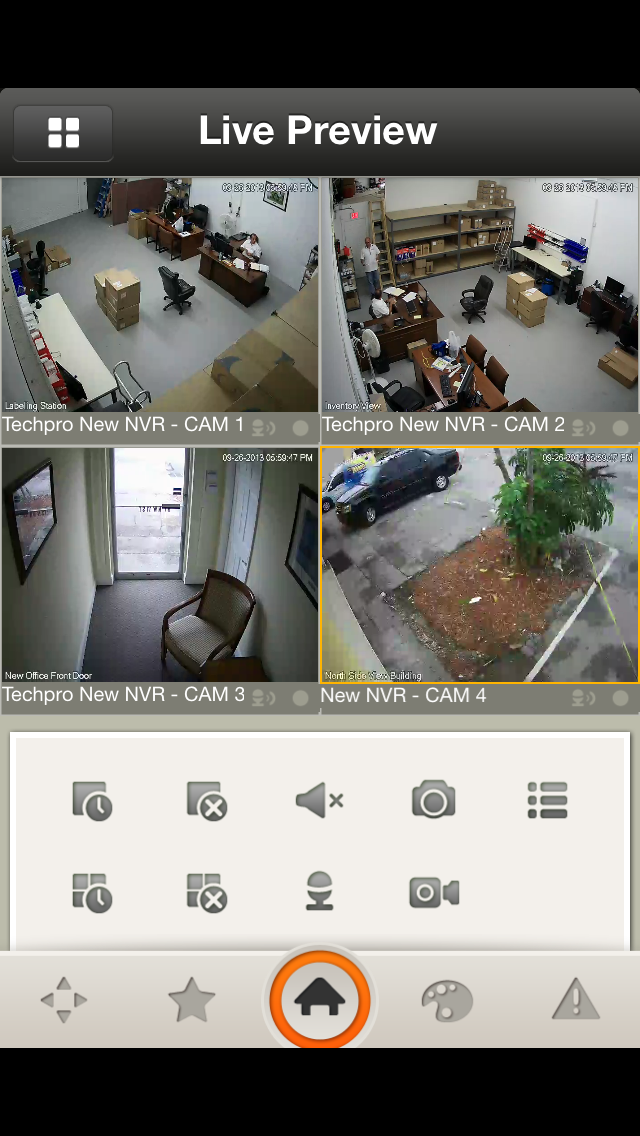
Note: If you would like to see one window in full screen simply double tap each window to enable full screen. Rotate your phone to view the stream video in “Landscape view”. If you would like to see your 4 windows screens again, simply double tap the current window you are viewing.
In the next section I will explain the menus shown on the bottom picture that you will find in the app.
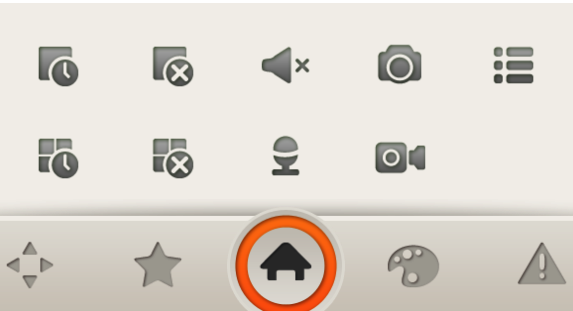
Click the Home button to return to the main menu of the app.

| This option will open the last single camera view. | |
| This option will open the last four camera view. | |
| Close a single camera view. | |
| Close all four of the cameras at once. | |
| If a microphone is connected, click this button to hear live audio feed. |
|
|
Live audio feed is enabled. |
| 2-Way-Audio is disabled. | |
| Press this button to take a Snapshot of the live video stream. | |
| When enabled, it will record live video feed to your phone. | |
| Allows you to unveil the camera menu to add different another set of cameras |
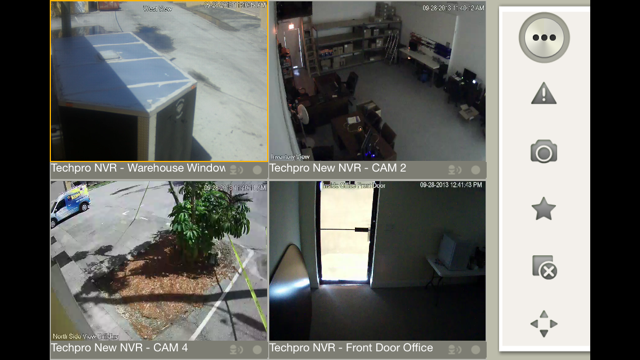
In addition to some of the features that the app offers you can also see them while using your phone in landscape mode. Refer to the picture below to see how it looks
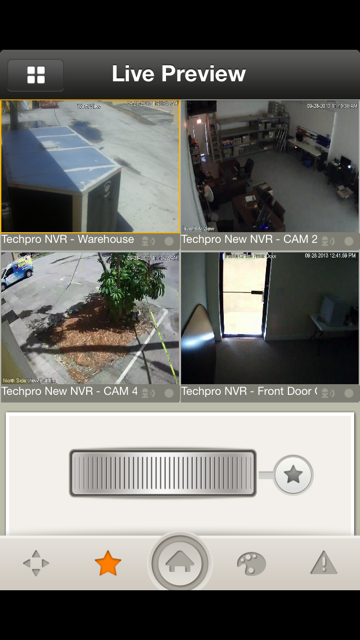
You can also save your cameras as favorites for easy access when you need them.
To add cameras simply choose the cameras you would like to add, arrange them as you like and when you finish click the “STAR” button.
A pop menu will open to enter a name, when done click OK to save the settings.
You can then open your favorite cameras by sliding the “Smart Dial” to the left or right position.
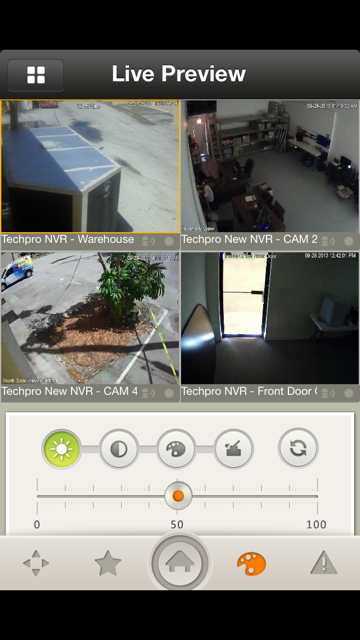
Another great feature this app offers is the ability to change the color settings of the life video. Notice that this will affect the live video and also the recordings. You can change the brightness, contrast, Hue, etc.
These settings will affect only the channel you are viewing and not all of the channels at once.
If you want to reset everything back to defaults simply click the last button located in the color menu to revert everything back.
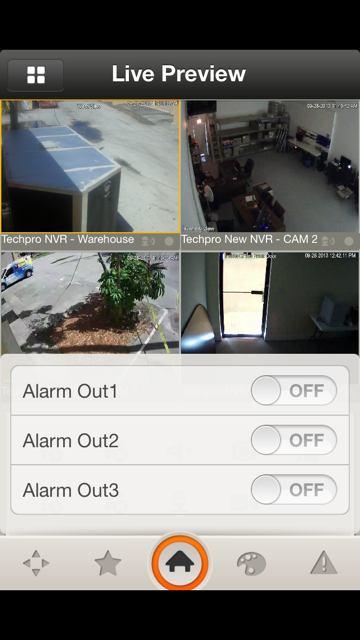
You can also activate any alarm outputs you might have connected to your recorder for the comfort of your phone.
Click on the alarm button located right next the color panel and an alarm panel will appear.
Depending of your recorder capabilities the alarm panel options will be different.
To activate any of these alarms simply toggle any of the “Alarm Out” button to manually trigger a siren, strobe light, etc. Toggle the button back to deactivate the alarm.
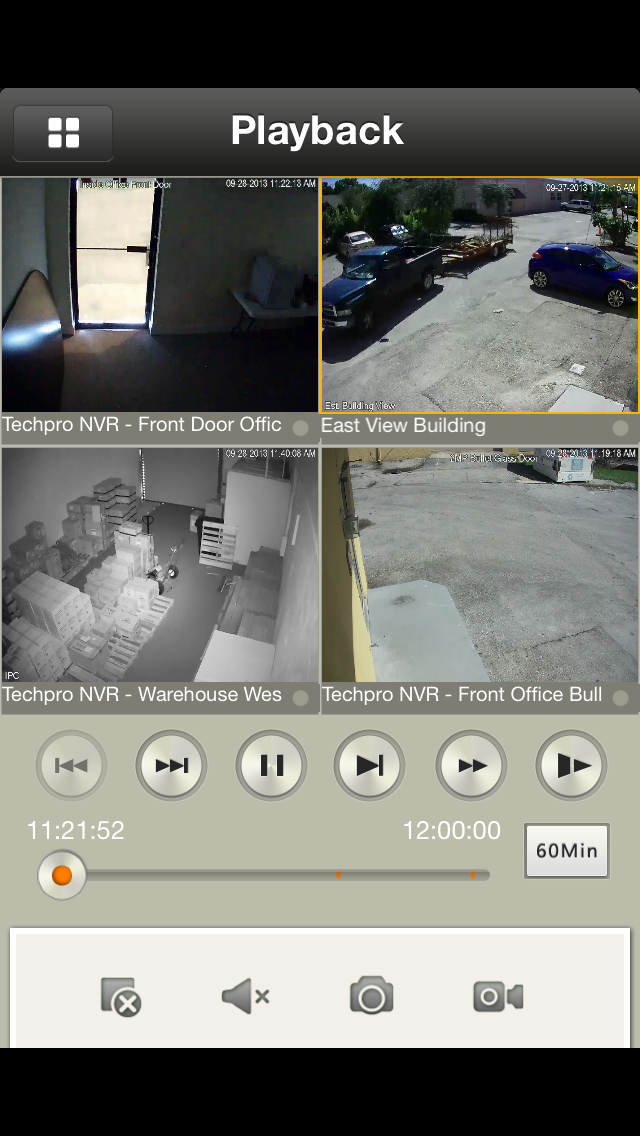
Finally, you can Playback recorded footage up to 4 cameras simultaneously.
To start playing back files it is recommended to connect your phone to a Wi-Fi, then click on the (+) button to add cameras to the window. A new page will open asking for beginning time and end time like displaying below.
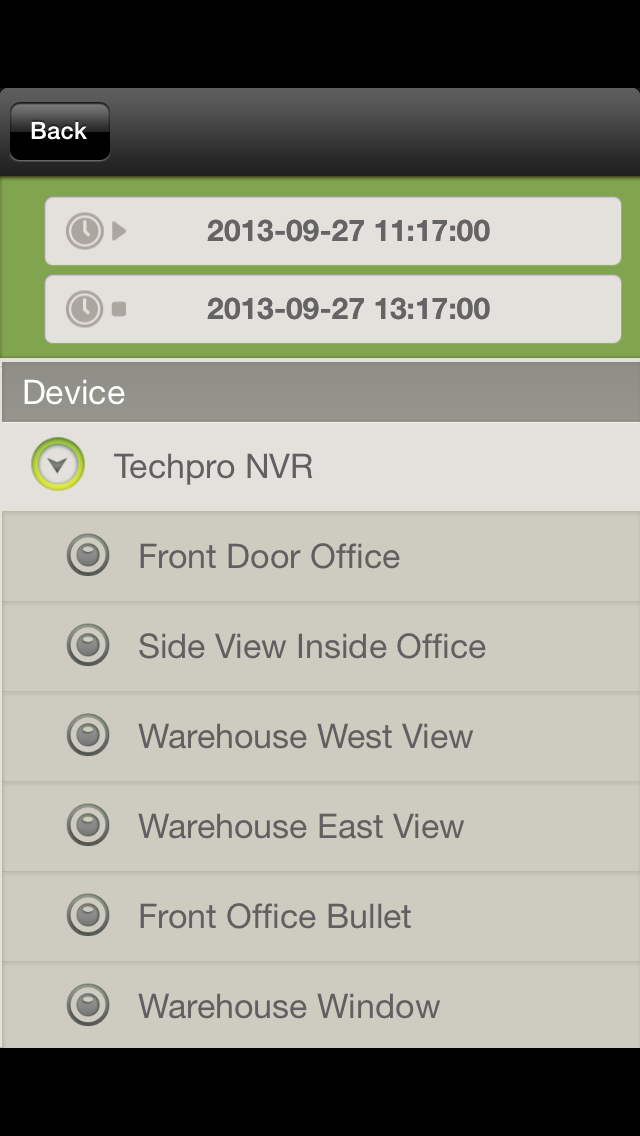
Noticed that you can only choose a period of 1 Day and not a few days back until the present day.
The next step is to decide what cameras you want to add to the playback window and then the recorded video will start playing back like shown on the right sample.
You can take a snapshot, record portion of the video to your phone; listen to audio, fast forward, pause, etc.
These are some of the key features of this software and I hope you can enjoy this app as much as I do and have fun using it. You can see a demo of this app for tables and smart phone here.