SecurityCameraKing.com. In this video I will show you how to access your DVR using Internet Explorer 9. This configuration will apply to Windows 7, 32 or 64 bit operating system and Windows Vista 32 or 64 bit operating system.
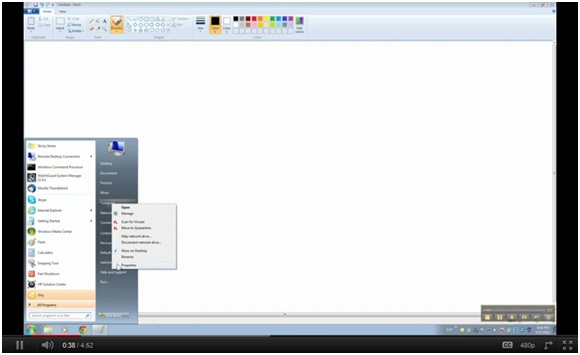
So the first thing we’ve got to do is make sure that you know what operating system your running or what version or what type by going to the “Start” button, and right click on “Computer” then click on “Properties.”
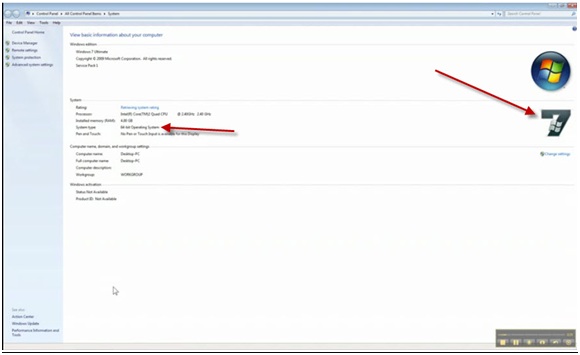
As you can see my version is 64 bit it’s Windows 7. So there is an extra step that you’ve got to do in order to successfullly connect to your DVR. Once you know if you have 32 bit connection to the DVR is just straightforward you have to configure the Internet options, then open Internet Explorer and put the external IP or the internal IP of the DVR and your good to go.
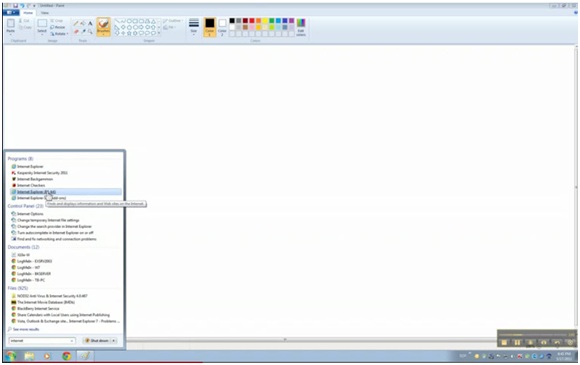
On the 64 bit there is an extra step that I will show you in this case because I have this 64 bit. So what we have to do now is go to Internet Explorer. For 64 bit only, you have to run Internet Explorer as the “Administrator.” There’s two versions of Internet Explorer.
If you type Internet it will show the 32 version and it will show the 64 version. DO NOT USE THE 64 USE THE 32. You have to run that as an Administrator so right click. Run as Administrator, click yes.
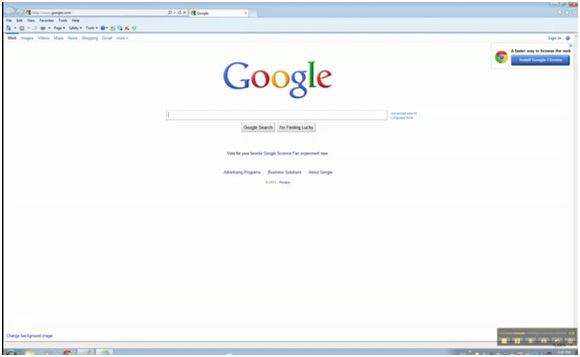
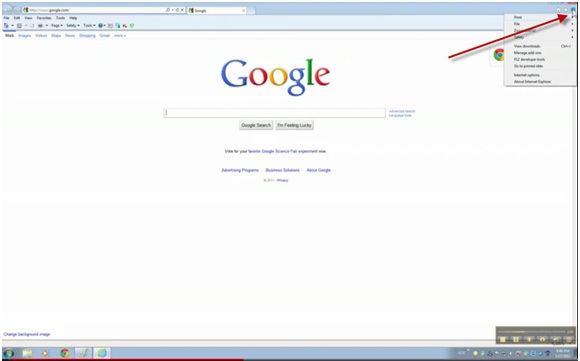
Then as you see the look of Internet Explorer 9 is a little different, but basically what you have to do is go to this corner,
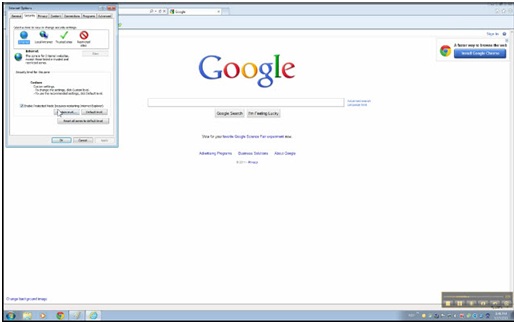
and click this icon and go to Internet options, “Security” tab, custom label and look for the option that says “Download Unsigned Active X Control.” And set it up as “Prompt;” Click Okay; Yes; Then OK.
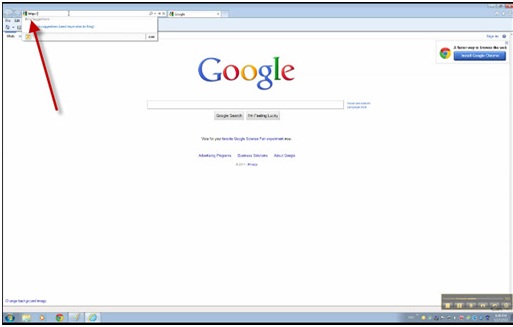
Then the next step is to put the internal IP or the external IP of the DVR. In my case I am going to connect to an external DVR and the IP will be different of course. So you have to start by putting in http:// (I already have it saved).
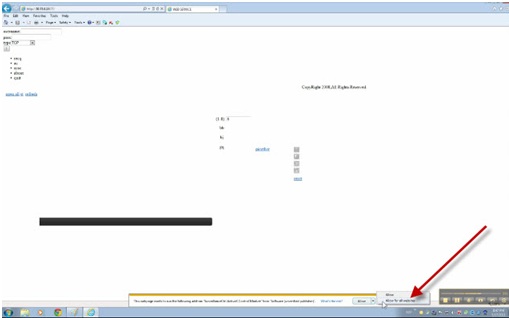
So, my port, my http port on my DVR I set it up to 77, so normally it will be 88 or 80. So it depends on what you have configured under network portion of the DVR. The http port will vary mine is 77 the default is 88 or 80. Once you do that you will see this,
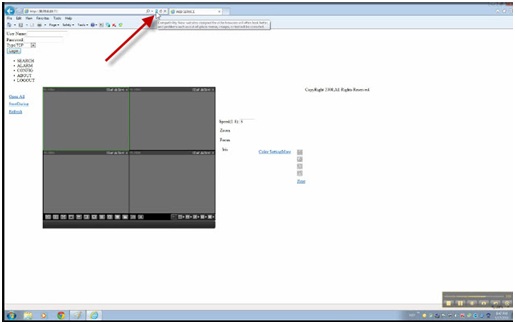
You have to allow it — click that little arrow there “Allow for all websites.” Then click the torn page
which will allow you to view the web service as compatibility.
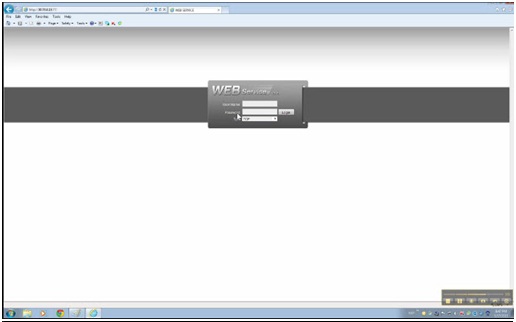
Then you can physically log in. And here’s the DVR. Choose your camera and there you are. You can open a camera and there you go.
For the 32 version of Windows 7 or Windows Vista you don’t have to run Internet Explorer as an administrator. So, it’s just very straightforward the only thing you’ve got to do is you have to do the Internet option configuration for 64 bit or 32 bit. As I said the only difference between the two of them is that on the 64 bit operating system you have to run Internet Explorer as an administrator. But the configuration itself on Internet Explorer on both versions is the same. So once again your going to go to this little icon here, Internet Options, Security tab, Custom Level, you’re going to scroll down until you see download “unsigned Active X controls” and set it up as “Prompt.” That’s it! I hope that this has been informative for you and I would like to thank you.

