One of the big problems that people call in about is that they have trouble placing elite IP cameras to the desired channel. People are expressing interest in seeing the cameras in a specific order for various reasons. Perhaps you want your indoor cameras as the first block, and then your outdoor cameras. Perhaps you want your front door and counter in a business to be set to channel 1 and channel 2. Or perhaps you just want to order your cameras by importance to you. No need to worry, this article will cover how to get this done.
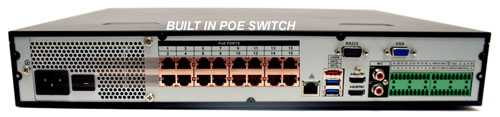
The reason this is difficult is that analog systems have been plug and play for years and networking IP cameras is all about the numbers. This Elite system with a built in POE switch was designed to be a plug and play option for people that do not want to put any thought into it. When you plug in an Elite camera into the POE switch, it automatically takes an IP address that is given by the switch. The built int POE switch acts as a DHCP server, so any cameras set to DHCP will receive an IP address. The default gateway address for Elite series Network Video Recorders’ Switch is 10.1.1.1. If you would like to change this network range, look for a section labeled Switch in the Networking area of the menu. This DHCP option is problematic at times because of a memory effect that has been created from the first time you plug in a camera. Since you are supposed to plug in cameras one by one, they will appear on the channel in the order that you connect them. The port number on the back of the NVR means nothing. It does not represent where you will see the camera on your TV or monitor. With IP based systems, it is all about the numbers.
Static IP addresses for cameras is always the best option
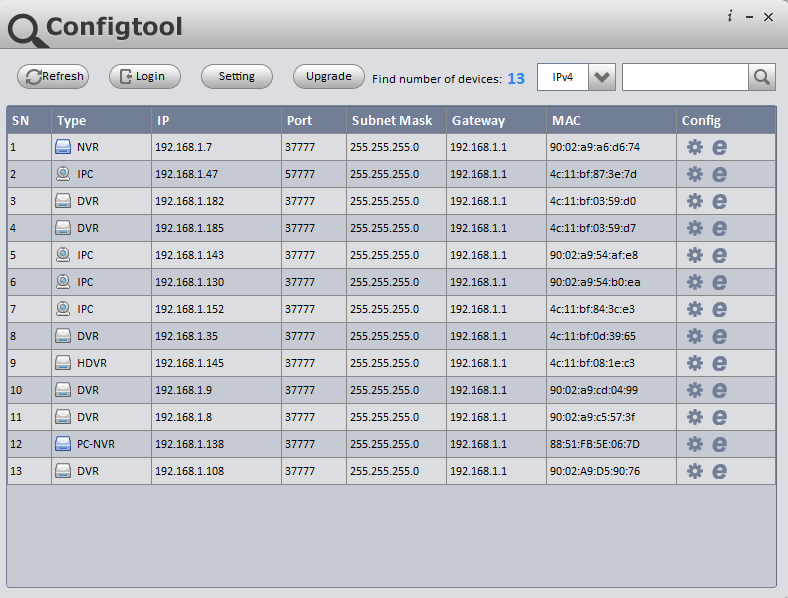
If you want your cameras to go exactly where you want, you need to set all cameras to static IP addresses. This will allow you to add them in the exact order you like. The first thing you need to do is find the cameras. The EL cameras require the EL camera finder utility, also known as the Config Tool. The Config Tool will allow you to change the IP address and network information in the camera. The problem is that the camera needs power on the same network that your computer with the config tool is connected to.
If you plan to use a 12V power supply to set up the camera, that is the best option. You can put the camera on your main network TEMPORARILY while you log into the web service of the camera and change any settings that you want. Since IP camera settings are done at the camera level, this may be a good choice. With Elite cameras and Elite NVRs, majority of the settings should synchronize and be accessible at the NVR. This is not true with ONVIF cameras. Your second option for putting your computer on the same network as the camera is to plug the camera and computer into the POE switch. Your computer and camera will get a 10.1.1.x IP address, so you will be able to access the camera through the config tool and change it to a static number of your choosing. This does work, but I always worry about the camera getting that first dynamic address the second you plug it in. Most of the problems occur when people plug in all their cameras at once and they all get Dynamic IP assignments. I have found that even though it gets a dynamic IP address and a Channel 1 assignment, it is replaced by your static IP address when you remove all cameras that are automatically added and add your camera manually.
Adding Cameras Manually
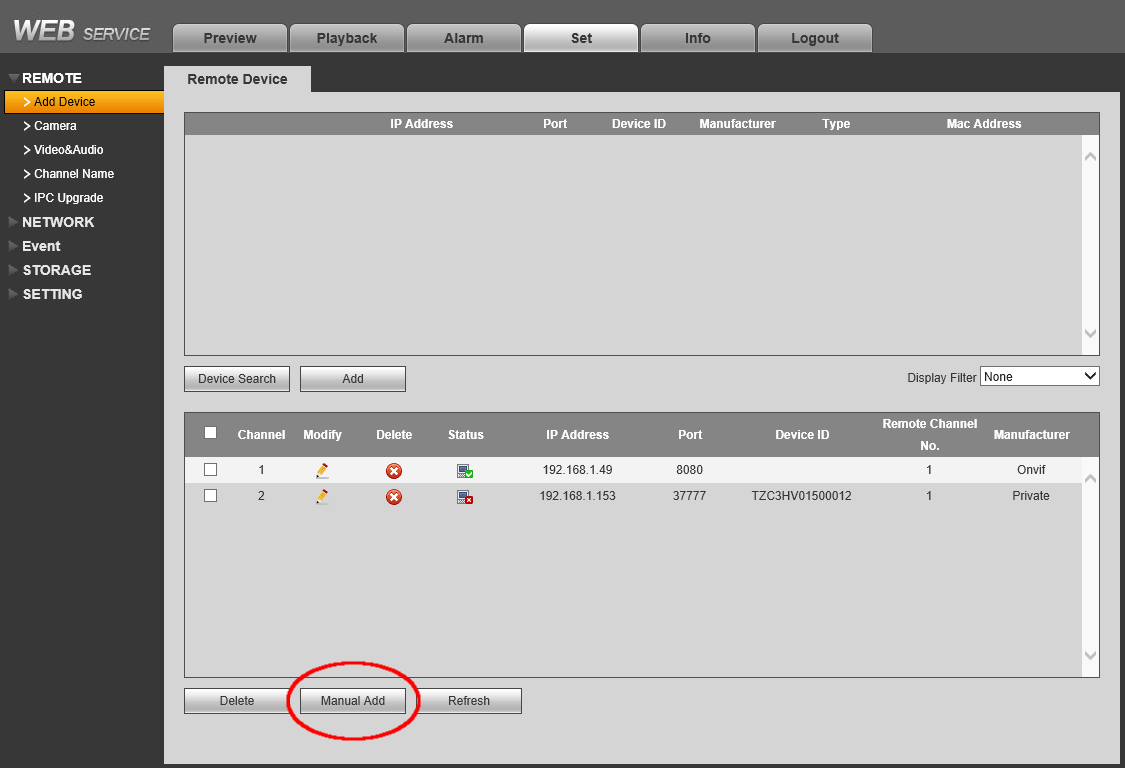
The final step in adding your camera to the POE switch by using a manually add button. Lets say you decided to start at 10.1.1.10 in your numbering convention. This is where you will push the Manually Add button at the bottom of the remote devices or add a camera section. Do not push the Refresh button or Device Search button. The names of the section can depend on the Web Service version, model number, or interface directly at the NVR. When you set up your camera in the manually add screen, you can choose the exact channel where you want to put it. This is the only way you get to choose the channel. Otherwise, you can add cameras in the order that you choose by using the device search button, selecting the camera, and clicking the add button. This method will place all cameras in the first available channel. So if you are numbering your cameras 10.1.1.10, 10.1.1.11, 10.1.1.12, and so on, you can select one and add one at a time only, and it will get the first available channel. In this case, 10.1.1.10 will get channel 1 since this is our first camera. Then when you set up your second camera at 10.1.1.11 and hit the device search button, you will be able to automatically add it to channel 2.
In Summary
If you are starting from scratch, this article will help you get to where you need to be. If you are trying to fix a current NVR, you need to unplug all cameras, default the camera section, then reboot. Then you will be able to start over. IP cameras are all about the numbers, so taking control of the numbers will be your best option. If you want a plug and play option with the built in POE switch, then it will work that way by assigning IP addresses. However, the order will be random if they are all connected at the same time, or based on the order that they are plugged in with a non-sequential number scheme. While most people do not care about the numbers that the cameras have, I have found that the static option works the best and that people with problems usually have them set up dynamically. Take control of your cameras and set them up so those numbers do not change. The extra work is a one shot deal and will save you future aggravation.