The introduction of digital video recorders to the security surveillance industry allowed for a whole range of additional features and functions that were previously unavailable. With video cassette recorders, not only did you have to search through hours of recorded footage just to find that one small event, but you had to physically be in front of the VCR to do it. Of all the functionality that DVRs have brought to the industry, the ability to remotely connect to the DVR over the network or Internet is perhaps the most important. Now we have the capability of monitoring the security of our home or business no matter where we are on Earth. As long as the DVR is connected to the Internet, it is accessible from any computer with an Internet connection. And, not only can you monitor live video; you can also download recorded footage, change your DVR settings and control your PTZ cameras.
Now, let’s discuss some of technical aspects of making the connection between your DVR and the outside world. The first thing to consider is the type of Internet connection. Most homes and businesses are limited to either cable Internet or DSL. Cable Internet is supplied to you by your cable television company, while DSL is supplied by your phone company. The main difference between these two types of connections is their speed. Both claim DOWNLOAD speeds of at least 6Mbps, but, of the two, only cable Internet will provide the UPLOAD bandwidth necessary to accommodate high quality streaming video. Keep in mind that remotely viewing video is totally dependent on how fast the Internet connection can UPLOAD or send data out, not how fast it can DOWNLOAD or receive data. So, while either type of connection will suffice, the best quality experience will be obtained with cable Internet†.
†Many of you may wonder about a T1 data connection. These types of connections cost considerably more than cable or DSL, and the bandwidth they provide (1.5Mbps) is only barely sufficient for moderate streaming video requirements. So, if only for the sake of cost effectiveness, a T1 connection should be considered only when cable Internet or DSL are not available.
Now that you have chosen which type of Internet connectivity you will have, you need to consider what kind of equipment your Internet Service Provider (ISP) will provide or has provided to you. In most cases, when the Internet is installed in a business, the ISP will provide you with a modem and a router or a combination modem/router. Any time more than one device will be connected to the Internet simultaneously, a router is required. However, when an ISP sets up a connection for a home user, many times only a modem is supplied and you will need to purchase a router in order to connect your DVR.
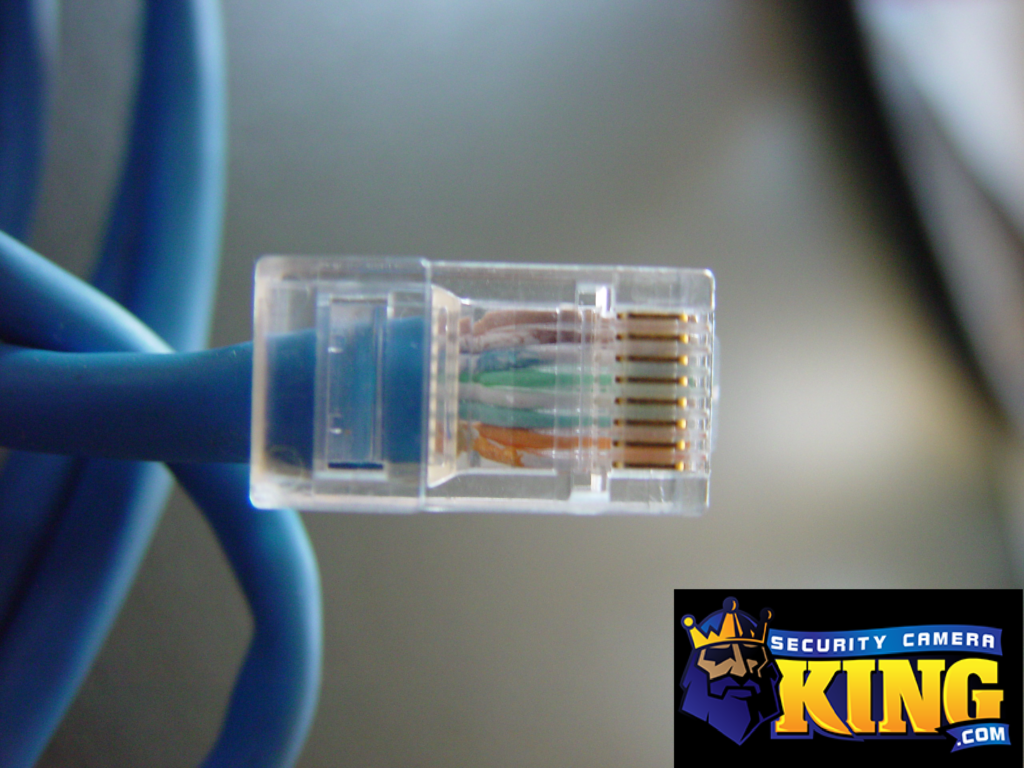
Another factor to be considered is the proximity of your Internet connection to your DVR. Obviously the ideal situation, and most often the norm, is that the DVR will be located in very close proximity to the Internet connection. However, there may be instances where this is not feasible. In these cases, there are a few options. Ideally, the best option would be to install a cable between the DVR and the Router or Modem. A physical cable always provides the best signal quality. Another option would be to use “power line Ethernet adapters”. These units utilize the existing wiring inside your home or business to transmit the Internet connectivity. One unit connects to an outlet near the DVR and the other connects to an outlet near the router and they talk to one another. Both devices must be on the same circuit to work, so there is some limitation as to the situations where they can be used. The last method that should be considered is wireless. A wireless router will be needed and a wireless access point would be installed at the DVR. Although wireless technology is fine for surfing the Web, transmitting video is another matter. With wireless, the farther the access point is from the router, the more unreliable the signal will be. 300ft is the theoretical limit of most wireless Internet connections, but inside a house with walls and electronics running everywhere, 100ft is a more realistic number. So, if you can just run a physical cable that 100ft, then you will have a much better experience.
Now that you have everything physically connected up, there are some settings that must be configured in your DVR and your router to open the door to the Internet. Any device that is inside your network that needs to be accessed from the outside needs to be assigned an IP address and a port. The IP address can be compared to a phone number and a port can be compared to an extension. The router can be compared to a switchboard operator. So, when you want to connect to your DVR from outside your network, you will need the router’s IP address, and the port number of the DVR. The router will then “route” the request through to the DVR. This is called “port forwarding”. We won’t go into great detail on this procedure, as the procedure for port forwarding is different depending on the brand of router being used.
Once all the connections have been made, and your router has been configured, you can connect to your DVR using Internet Explorer Web browser or, if you wish, the DVR client software if it is included with your DVR.
In conclusion, when properly installed and configured, your security surveillance system can allow you the freedom to travel away from your home or business while still maintaining the peace of mind that you would have if you were right there. If you have any questions, or need any assistance with any of the configurations that I have discussed here, please feel free to contact us directly at 866-573-8878.