The IP License Plate Camera is one of the advancements in surveillance that has been greatly improved over recent years. With IP security cameras and technology allowing for higher overall resolution along with impressive low-light surveillance capabilities, it’s finally possible to effectively obtain clear, crisp footage with an IP license plate camera.
However, there is still a process required for setting up the camera system to accomplish that task. Follow along in the step by step guide below to learn how to maximize the effectiveness of an Elite IP License Plate Camera (SKU: IPLP-EL4IRZA-EP). If you’re interested in purchasing this camera or wish to speak with a security expert about one of our security camera products, visit Security Camera King.
How to Maximize the Effectiveness of an Elite IP License Plate Camera
To begin, our IP LP camera will be facing a dark corridor in low light conditions with a license plate in view. Below you’ll find the steps to effectively maximize the license plate capture potential in order to gain the best overall results.
Step 1: Setting up Night Profile – Select settings inside your interface. Next, locate and select conditions. An image should appear on the left side to view what is happening. Locate the Profile dropdown and make sure the option is set to Night. This ensures that all the settings only correlate to the Night Mode Profile.
Step 2: Modify Exposure Settings – Next, select Exposure. Then select Default in the bottom left underneath the image. In here you will find the Anti-flicker settings. Anti-flicker is basically you have rolling lines from any lighting inside of your building or outdoors. There’s a 50 Hertz setting for Europe and 60 Hertz for US. The default setting, however, will be for Outdoor. Next, click the Mode dropdown and select Manual. In Manual, you will be able to manually choose the camera shutter speed, which is essentially the amount of lighting that will be coming into the image sensor of the IP license plate camera. The Shutter setting will need to be modified on a situational basis as every setting is different and will require different light exposure for ideal recording.
Step 3: Modify Backlight Settings – Now, select Backlight. This is for light compensation. BLC stands for Backlight Compensation. HLC stands for Headlight Compensation. WDR stands for Wide Dynamic Range and is for an indoor camera facing outside through a window or door. It allows you to see through the window or door without getting a glare.
Step 4: Modify IR Light Settings – Next go to the IR Light settings. There are 4 different modes inside of IR Light settings that you will need to play with for ideal recording. In environments where there is a lot of lighting, you will want to keep IR Light Mode turned off. The same goes for snowy conditions due to the light bouncing and reflecting back into the camera lens from the snow or similar reflective surfaces.
Step 5: Modify Other Settings – The other available settings are WB, or White Balance, and Day & Night. If either of these settings applies to your environment, make sure to investigate the settings in the menu after you are happy with your previous ones. In some cases, you will need to alter one or more of them in order to achieve maximum effectiveness.
That concludes the tutorial on how to maximize the effectiveness of an Elite IP License Plate Camera. The product discussed in this video along with its key features and specifications can be found below. If you have any questions regarding the instructions, please watch the video attached below. You can also call Security Camera King for additional support. Our number is 866-579-8878, extension #2 for the Sales Department and extension #3 for our Technical Support Team.
Affordable Security Solutions

Elite 4MP Motorized Low Light IP License Plate Security Camera (SKU: IPLP-EL4IRZA-EP)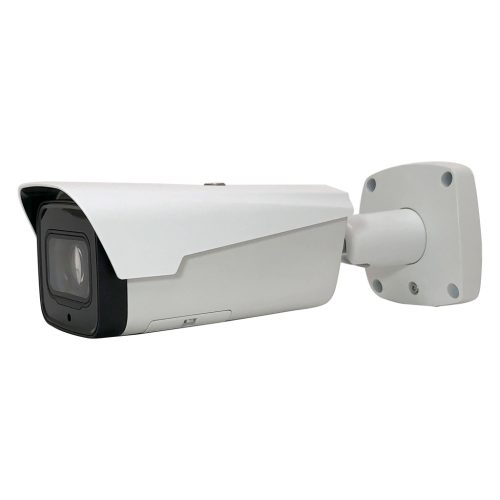
Key Features:
- Megapixels: 4MP
- Max Resolution: (2688×1520)
- Image Sensor: 1/3 inch 4MP Progressive Scan CMOS
- Lens: 7-35mm Motorized Zoom Lens
- Minimum Illumination: 0.03Lux/F1.4 (Color,1/3s,30IRE)
- LEDs: 4
- IR Distance: 328
- OSD: N/A
- Protocol: ONVIF, PSIA, CGI
- Operating Temperature: -22°F ~ +140°F / Less than 95% RH
- Dimension: 10.76in x 3.74in x 3.74in
- Power: DC12V, PoE (802.3af)(Class 0)
Facebook | Twitter | Google+ | YouTube