 Today we will be exploring a simple world of port forwarding. For those of you who like to be hands on and grasp the “What, Why, and How to do” or you simply want to complete this segment of your job or project and Tech Support is unavailable I welcome you to proceed reading. I will begin with, “Make sure you have a PC, DVR/NVR, router and/or modem all [plugged in and ready to go. Also please obtain all passwords to each device (if necessary) to ensure flawless setup as we go from procedure to procedure. Once you have done so please access your START MENU on your PC.
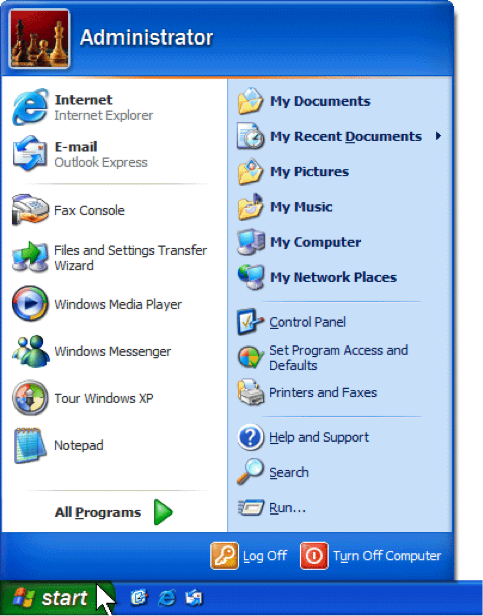
{Depending on what operating system you have, the above picture may vary.)
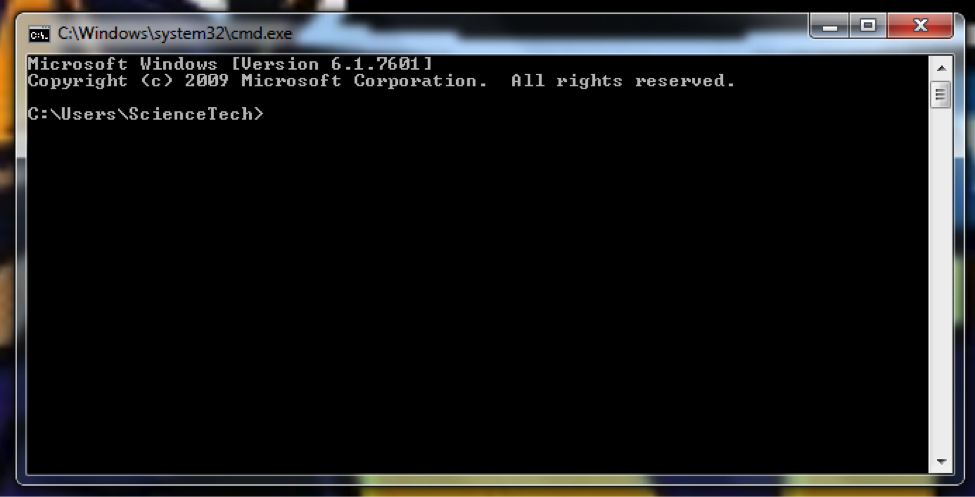
Choose the RUN option and then type in the command CMD. Then hit the enter key and you should have a window like the following:
Affordable Security Solutions

In this window, type in the command IPCONFIG and hit the enter key, this will pull up your LAN (Local Area Network) IP scheme. The one you will see my network in is a 192.168.1.xxx scheme. If yours is different, PLEASE DO NOT DESPAIR**, following along with the same process while subsitutuing my scheme with yours, will provide you with the SAME results. You should have now the following window:
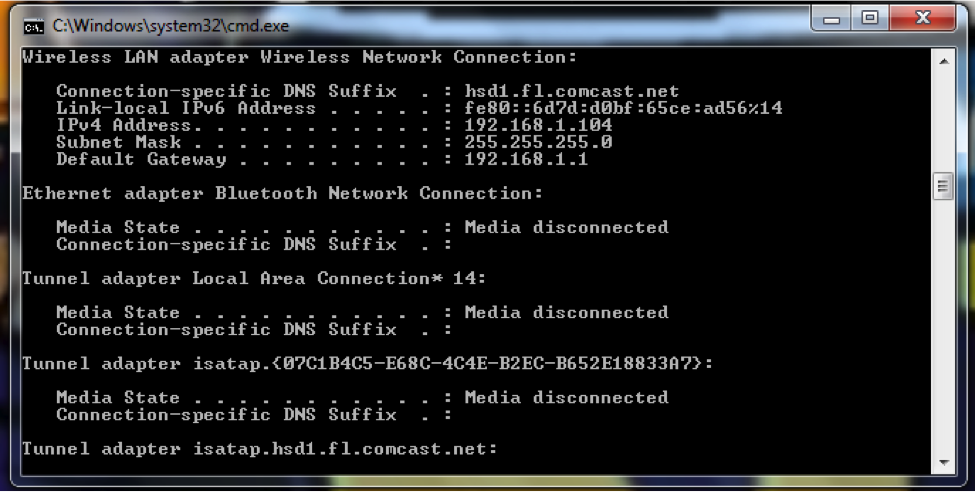
As you see in the picture above my gateway 192.168.1.1 (which is my network scheme). The IP address of the PC I am using is 192.168.1.104. This is the unique IP belonging only to my device (my computer). This is the name, if you will, that the LAN knows my PC as. Every device that is attached to my network is issued its own unique IP address. Now our DVR/NVR and IP Mega Pixel cameras all have a default IP address of 192.168.1.108. On my network 192.168.1.108 is already taken so I will establish the IP of the DVR to 192.168.1.120. I suggest anyhow, to always change the IP address of any our devices to a known open IP on your network. You can see if an IP is open or not by pinging your network. You can check this in Command Prompt by typing in PING (hit the space bar once) and then the desired IP based on your established scheme. It will look like so:

(Above you can see this IP address is assigned to another device due to the com packet replies)
(Above you can see the IP address is not in use)
Now that we have established an open IP to assign to the device lets change it. If you right click on the mouse of the DVR, chose the following:
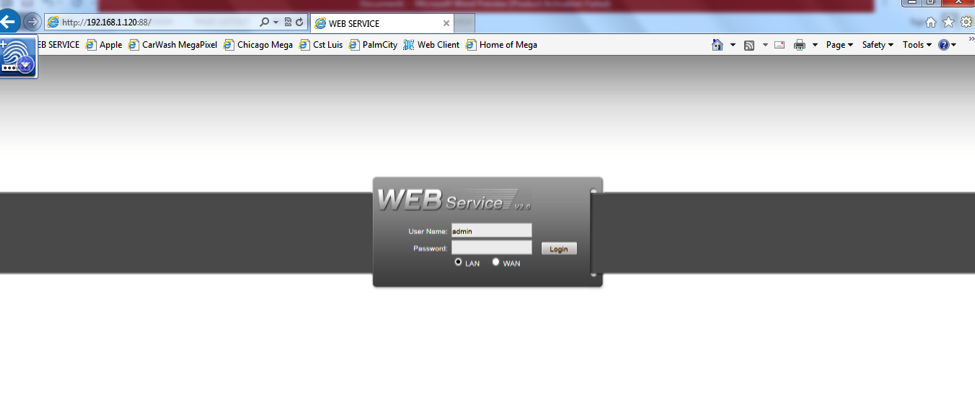
Main Menu -> Settings -> Network. Configure your network to the chosen IP in the IP address field. Make sure to change the Default Gateway in the respected field as well if your network requires. While we are still in this menu, let’s go ahead and assign our desired ports for the HTTP and TCP. I for instance will change the HTTP to 88 and keep the TCP port as it defaults of 37777. I now will save my configuration. (If the DVR prompts you that it wants to reboot, this is fine and a necessary function. Just hit okay.) Now let’s move onto creating PORT FOWARDING rules on our network. Normally you can just open up any browser and type in the DEFAULT GATEWAY of your IP scheme. Please refer to the picture below:
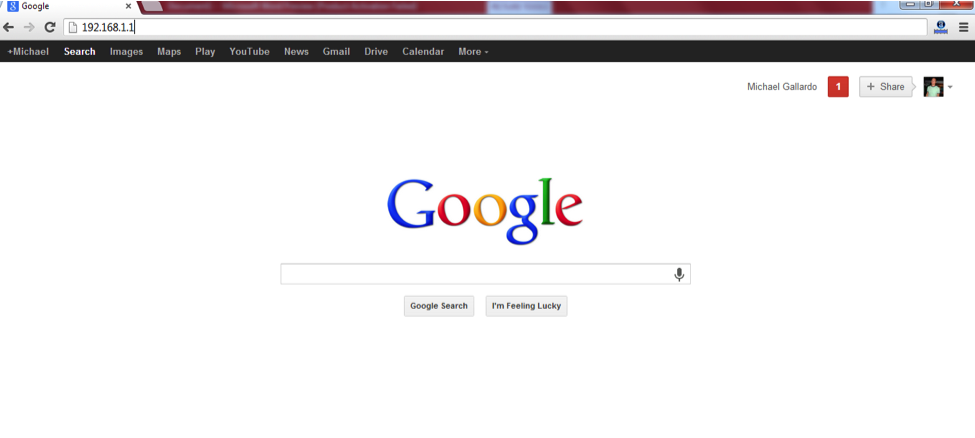
(Before)
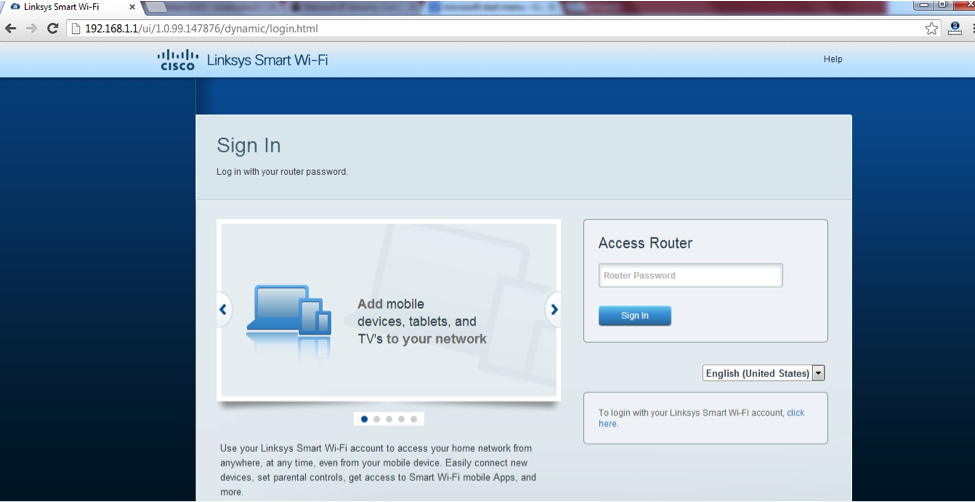
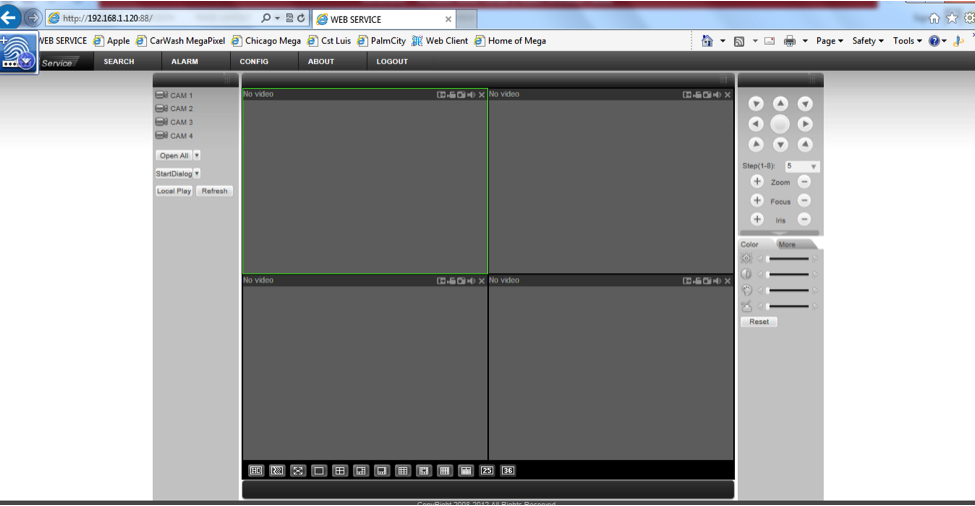
(After)
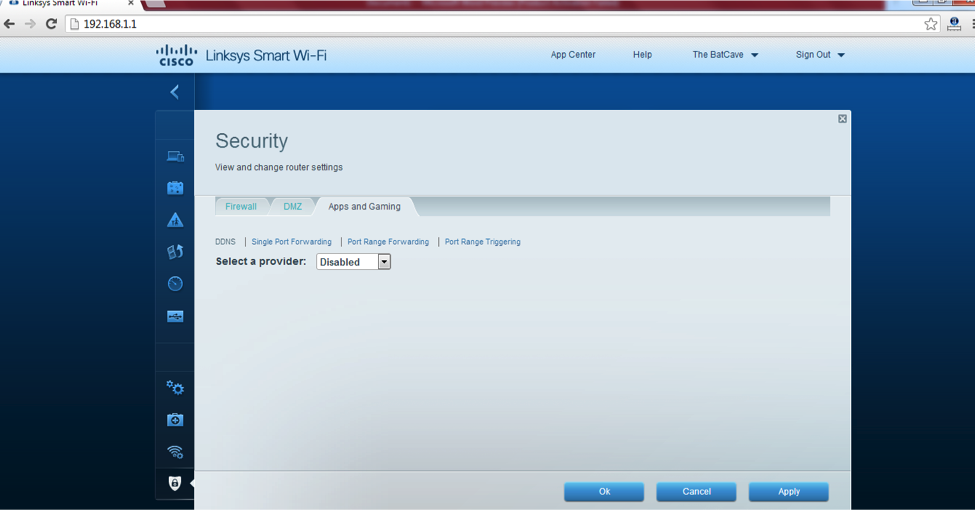
I will now access my router by putting in the password. Once Inside I can now create port forwarding rules for my device. Based on your router and/or modem the following pictures will not look the same. The current router I am using is a Linksys 1750AC.
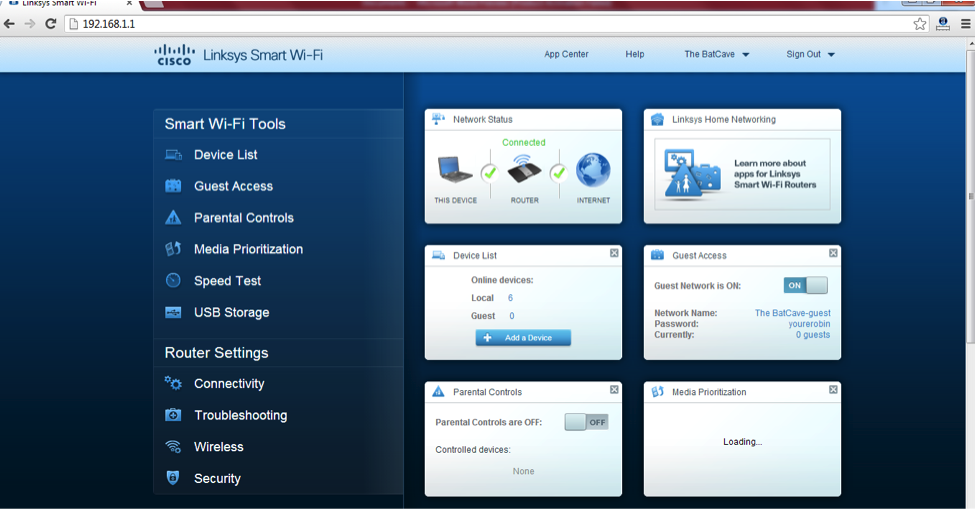
I will now go to the Security tab at the bottom left hand corner, then choose the APPS & GAMING tab, and then SINGLE PORT FORWARDING.
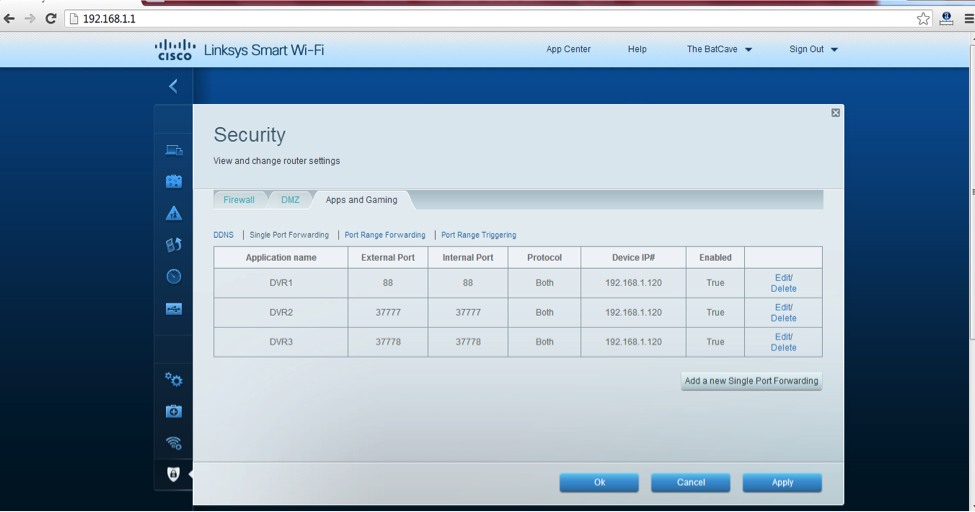
As you can see in the above I have created (3) different port forwarding rules for the IP address 192.168.1.120 which is my DVR. You WILL have to only create two, the HTTP PORT & TCP PORT. Once completed be sure to save the configuration and now let’s check to see if our external is now connected to our internal with this two ports. We are going to proceed use a website known as: CanYouSeeMe.org
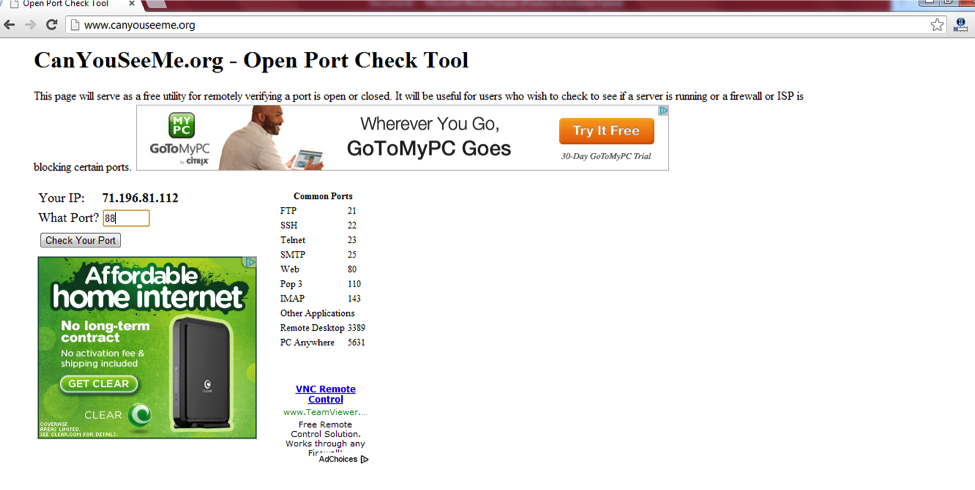
Once on this page proceed to enter in the HTTP & TCP ports you assigned to your device and opened on your LAN in the box like so:
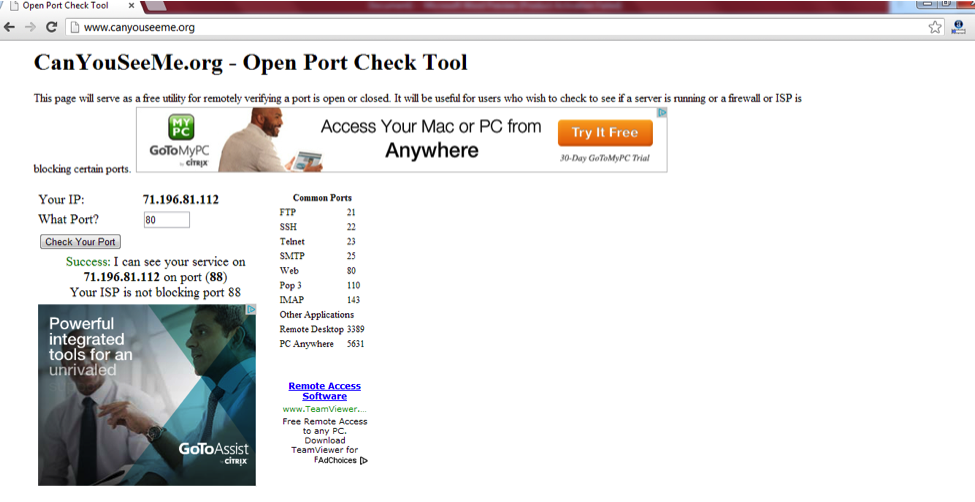
I hope you got the same results as I did! If all was successful you ports should have shown a SUCCESS: I can see your service on (your external IP here) on port (your desired port you choose). If not, again do not despair***, please try following the same process over or contact us for your free technical support on OUR products. Please see the below for the DVR view on a browser: