DVR Setup for CCTV System
Hello everyone, Joe From SCK here with another article , this time we are covering the process of DVR Setup. Chances are you’re reading this if you recently acquired a new DVR and are looking for info on how to get started. The Process for setting up a DVR itself is fairly simple, however, there some important things we want to cover first. For example, what is a DVR? What kinds of cameras can you use with a DVR, what other information will you need in order to complete this process today, tools, requirements, and more? We aim to cover all of this in today’s guide so read on to learn as much as you can!
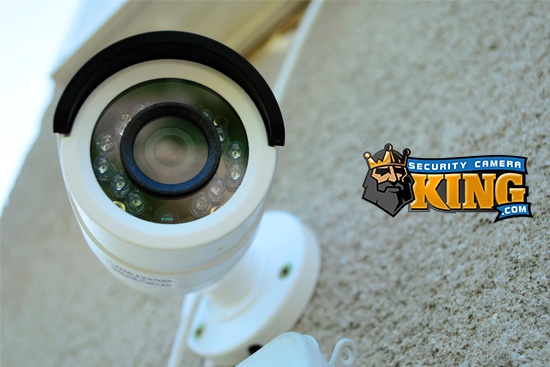
So what is a DVR anyways? DVR is short for Digital Video Recorder, and its goal is to digitally record captured footage from cameras for the purpose of surveillance and security logging. DVRs are part of a greater security technology field collectively referred to as CCTV-, or closed-circuit television. Along with cameras and mounting equipment, DVRs are the center of CCTV systems and have been the dominant technology for recording this footage for some time now. Primarily, DVRs work with COAX cameras, which connect directly to the DVR via Rg59 COAX cable. This footage is actually sent digitally in today’s time, whereas in the past it was sent using an analog signal. for this reason, many still refer to COAX cameras and DVRs as ‘analog CCTV systems’ even though this is no longer technically the case.
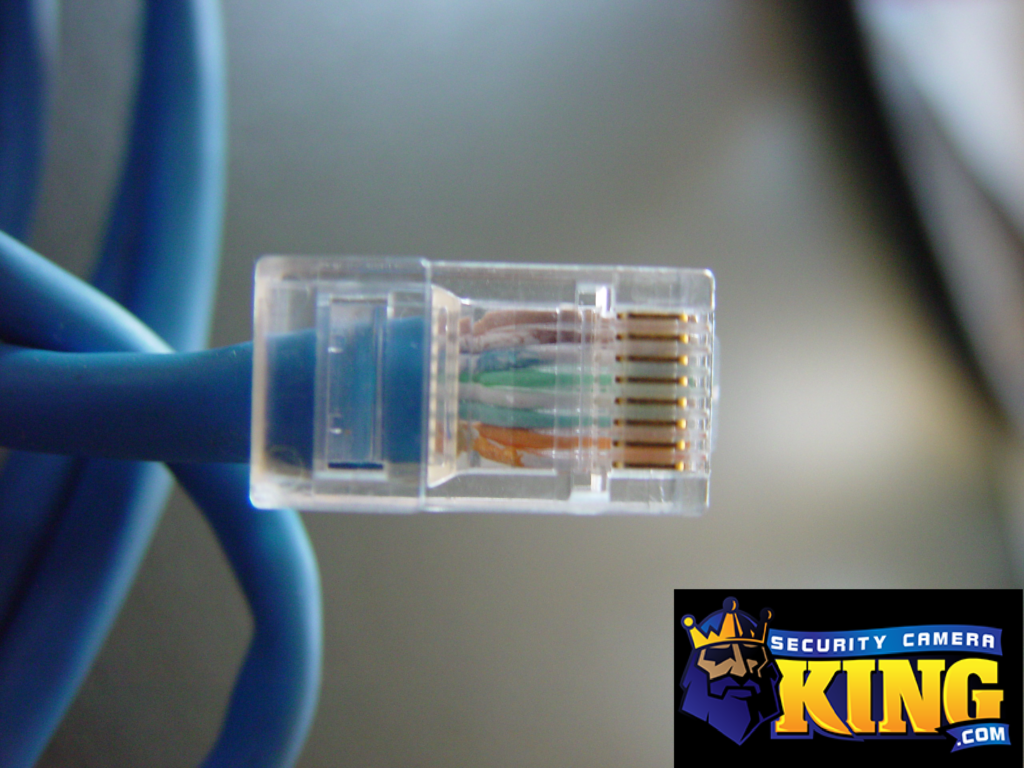
Modern DVRs can connect to COAX cameras producing resolutions much higher than when they were limited to analog signals. Additionally, most modern DVRs are hybrid systems capable of utilizing multiple video signal types including AHD, TVI, and CVI as well as the analog CVBS. Beyond that many DVRs are also able to utilize UIP or network cameras, though how many and which channels are often specific to the DVR in use.
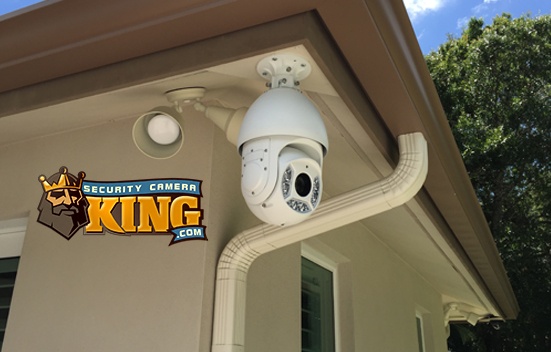
Keep in mind that installation and setup are not the same. While you can likely handle the setup o your DVR post-install, the installation itself should be handled by a professional security installer. Much of the work in properly installing a CCTV system includes COAX cameras, COAX cables, power cabling, power distribution box, mounting brackets, power tools, and the experience and tools to properly and safely manage to install this hardware. Installation means drilling holes and creating channels to run wires, sealing these up to prevent weather issues, mounting and aiming cameras, running their power and video lines as well, and more.
All of this requires knowledge of electrical, and construction modification. During a proper installation, your security installer should also be testing the equipment prior to mounting to ensure basic functionality and that everything is working. Here is a list of some of the things that need to be considered for purchase before installing. Consult our sales team and/or your contractor/installer for more info.
- A DVR
- COAX CCTV Cameras
- Power Cable
- COAX Cable
- Mounting Brackets
- A Local Display/Monitor for the Recorder
- Hard Drive(s) for the Recorder
- a Local PC dedicated To security system access.
Setting up a DVR that’s already been properly installed by a licensed security contractor or technician is fairly simple. Set up is the process of navigating through the DVR’s menus to ensure the unit is catered to your preferences. This includes recording settings like the schedule, as well as resolution and encode settings, account names and passwords, and more.
When your DVR is first powered on, it’s going to go through a setup wizard. The most important thing you can do here is set up your username which by default is ‘admin’ and a password. The password has to be a minimum of 8 characters and contains both letters and numbers. You’ll also be asked to set up a pattern login, in which you can create a ‘connect the dots’ style pattern to use rather than typing in your password. We highly recommend writing down your password somewhere secure as the convenience of using the pattern can often result in forgetting your password. in order to perform many actions, you’ll need that password!
Now, once you’ve finished inputting the password- all you need is to follow the setup wizard until the end! It will have you set your date and date, and you can enable DST if you like. You can also use this wizard to set motions and record schedules.
Lastly, you’ll want to check out the Encode Page under your main menu. From here you’ll be able to set up all your cameras to the resolutions and bitrates you need!
Thanks for reading our article today. If you have any questions about the products we carry, what services we offer, or compatibility with the hardware you might have, don’t hesitate to give one of our highly trained sales Pros a call! That number is 561-288-5258! Until next time, Stay Safe!
Related: What’s the difference between DVR and NVR?
Related: What’s the difference between H264 and H265?
Related: IP PTZ Security Cameras – All There is to Know
Related: Resolution, and why does it matter?
Related: What are active deterrence cameras?
Find Us On: Facebook | Twitter | YouTube