

Many Installers are requesting methods to connect their Security Systems. From running cable raceways in commercial buildings to installing conduit above or below ground in residential installations, running wired connections can take a lot of time – which equals more money to spend in labor. This article can serve as a guide on how to maximize the use of our Nano Station Loco M5. In this article we will be going to be utilizing an IP Megapixel system.
Example: IP camera System
Items Needed:
Before installing any hardware we first need to configure the Nanos. Lets start by Configuring the Nano that will act as an Access Point. This is the one that will be located at the Main Network.
Nano (Access Point)
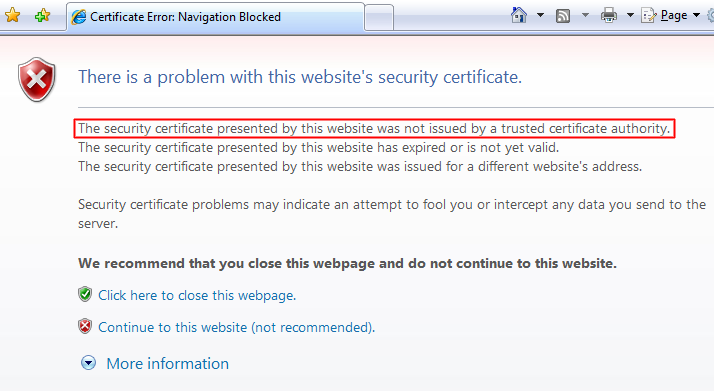
Navigate to http://192.168.1.20 on your web browser.
If you get this page . Click on “Continue to this website (not recommended)”
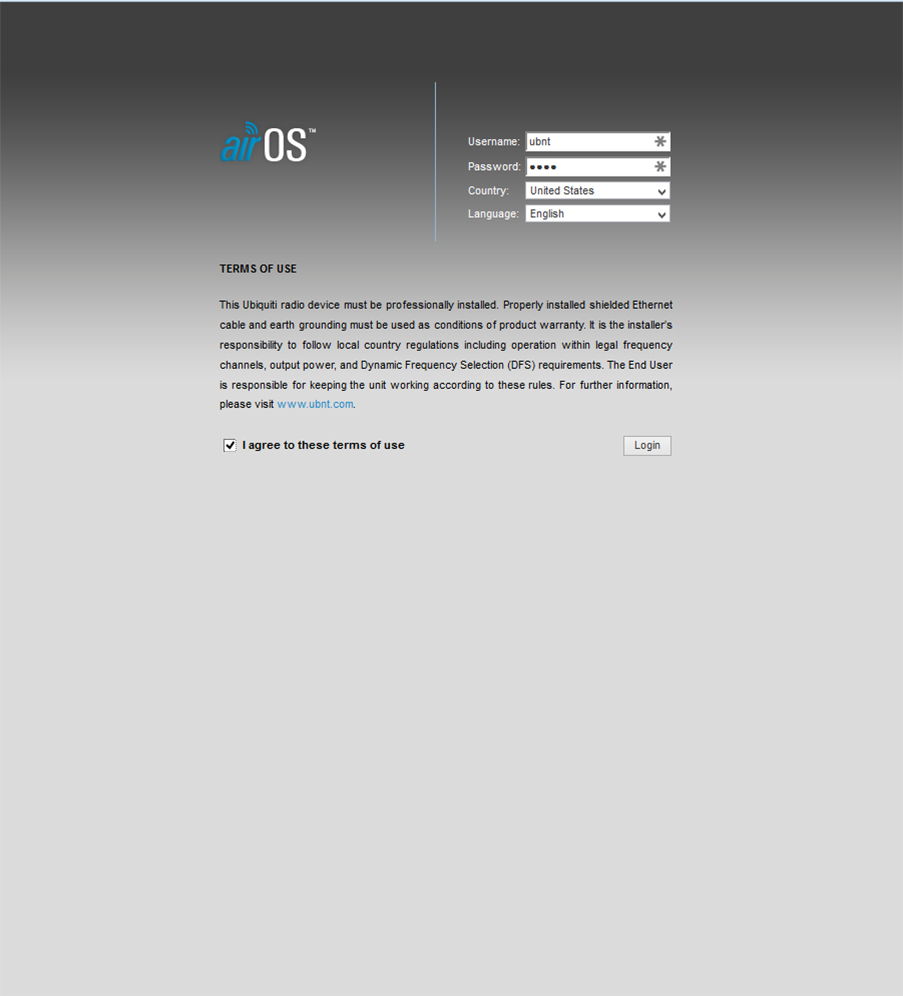
This is the correct page you should see displayed on your browser. 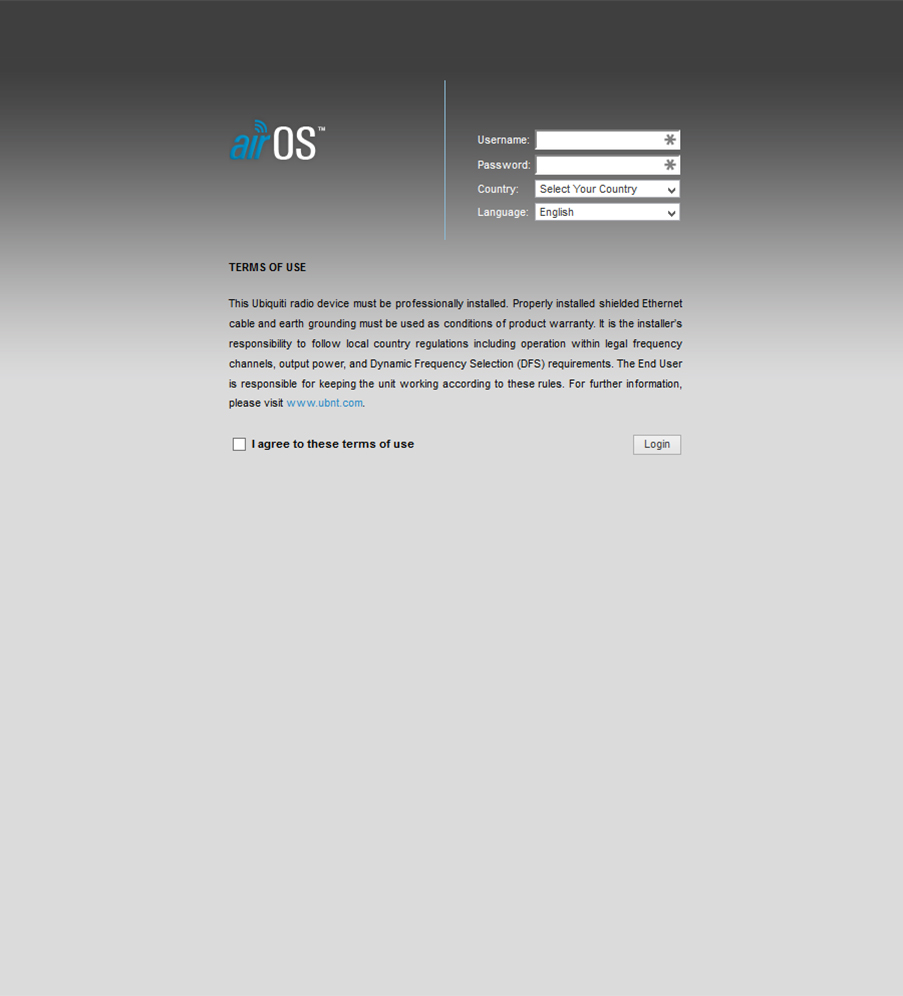 Once you are here you can log in using UBNT as Username and Password
Select your Country and agree to the terms of use by ticking the radio button.
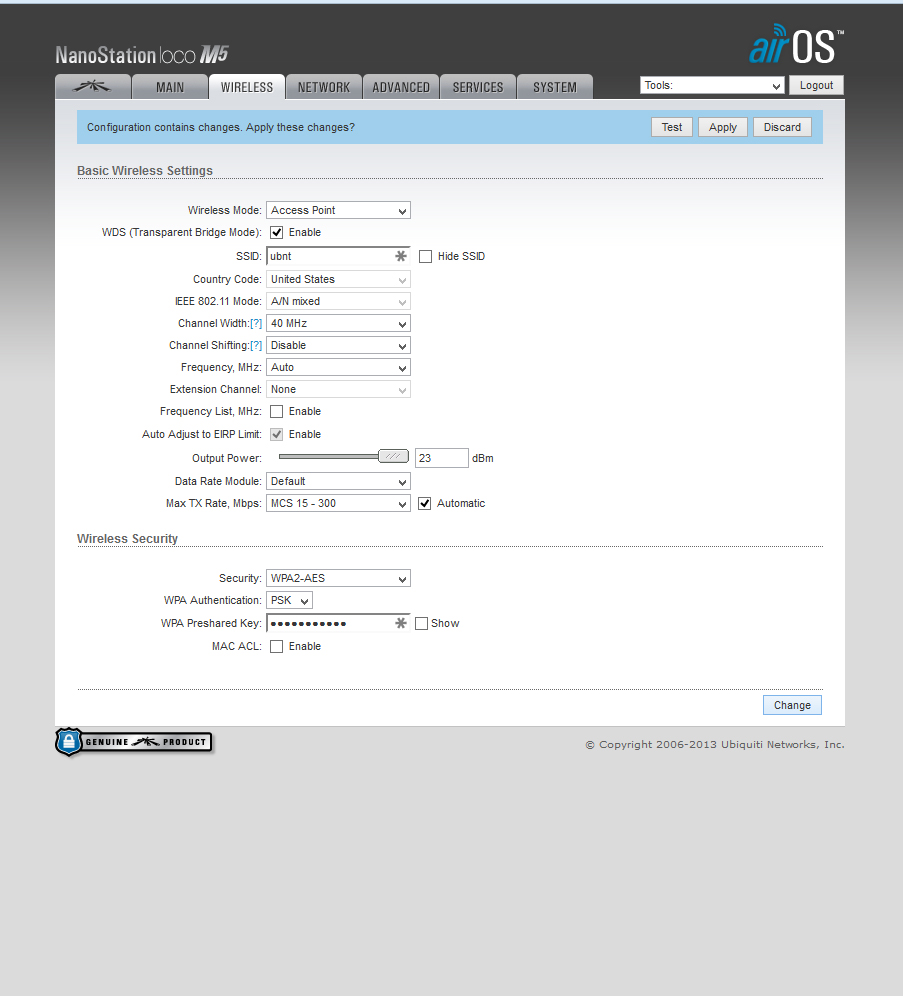
Once you have gained access to the Main GUI, navigate to the Wireless Tab
Match the Settings displayed.
Wireless Mode: Access point
WDS : Enabled
SSID: UBNT_Bridge
Security : WPA2-AES
Preshared KEY: UBNT2014
Hit Change but not apply.
Network Mode: Bridge
Static Ip
192.168.1.159
Match your Gateway as well as the DNS server. In this example we left this out as many networks are different.
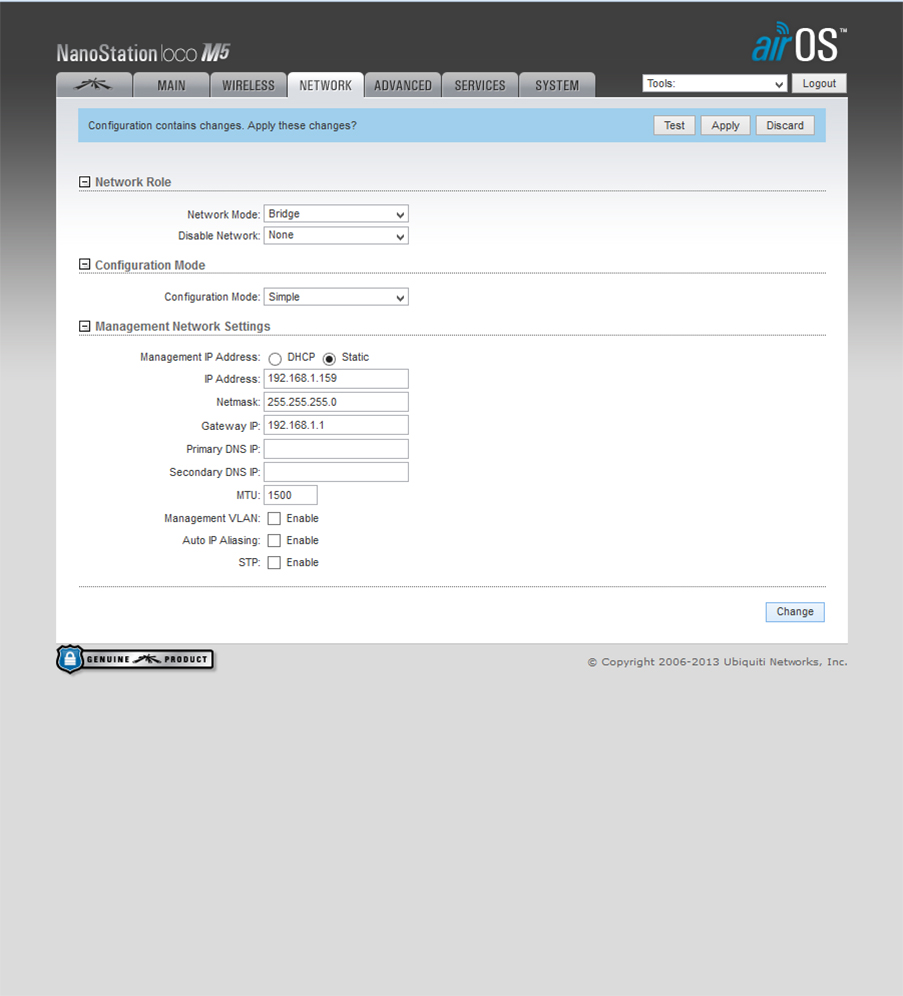
Finally hit apply
Once you have applied the settings your Nano will restart and you can install the Access Point at the Main location where the Main network is.
Nano (Station)
Lets go ahead and open an internet browser.
Navigate to http://192.168.1.20
 Use the following credentials to log in.
Username: UBNT Password: UBNT
Select your Country & Language
Check the radio button to Agree the terms of use as
Once you are loge in navigate to the Network Tab
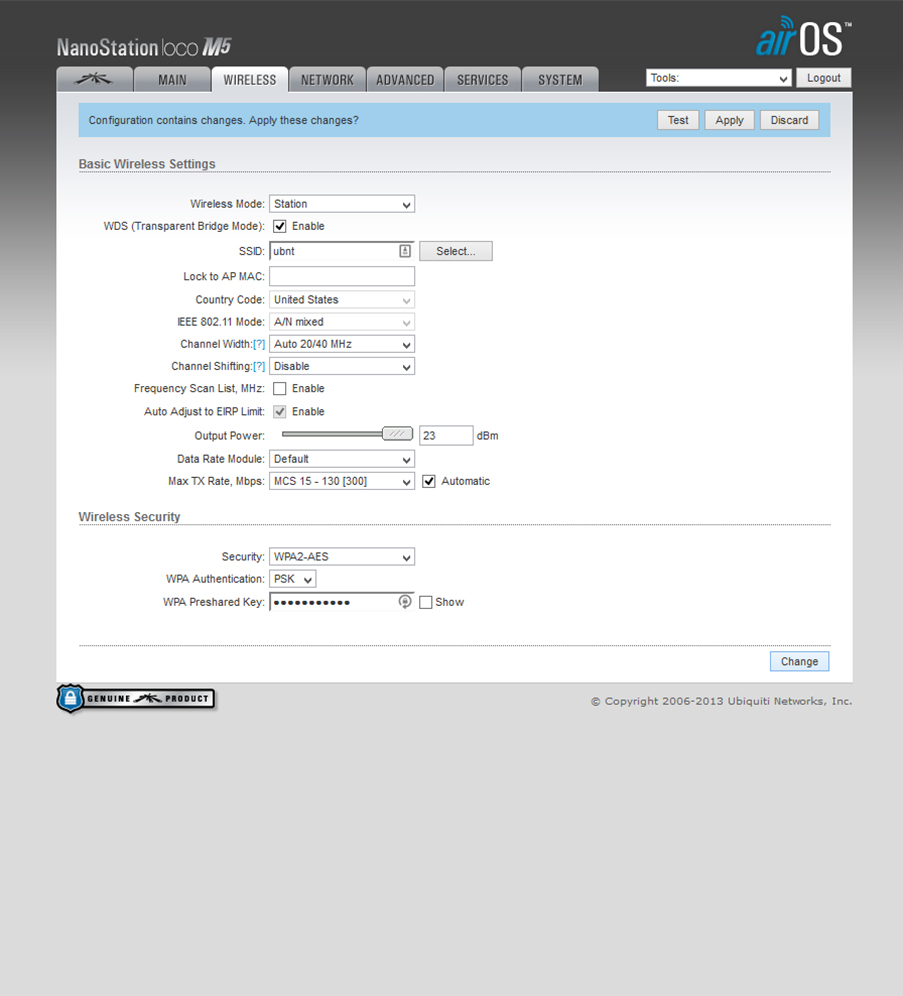
Use the Following settings
Wireless Mode: Station
WDS : Enabled
SSID: UBNT_Bridge
Security : WPA2-AES
Preshared KEY: UBNT2014
Navigate to Network
Use the Following settings
Network Mode: Bridge
Static Ip
192.168.1.160
Match your Gateway as well as the DNS server in this example we left this out as many networks are different.
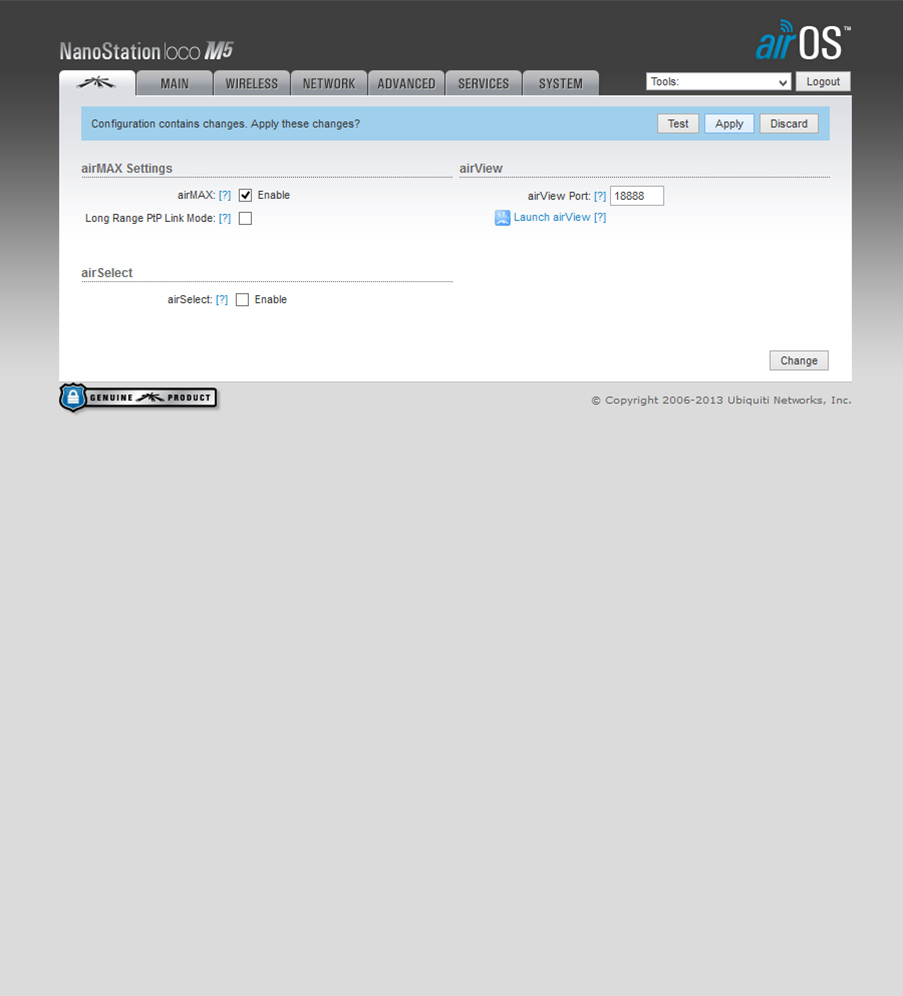
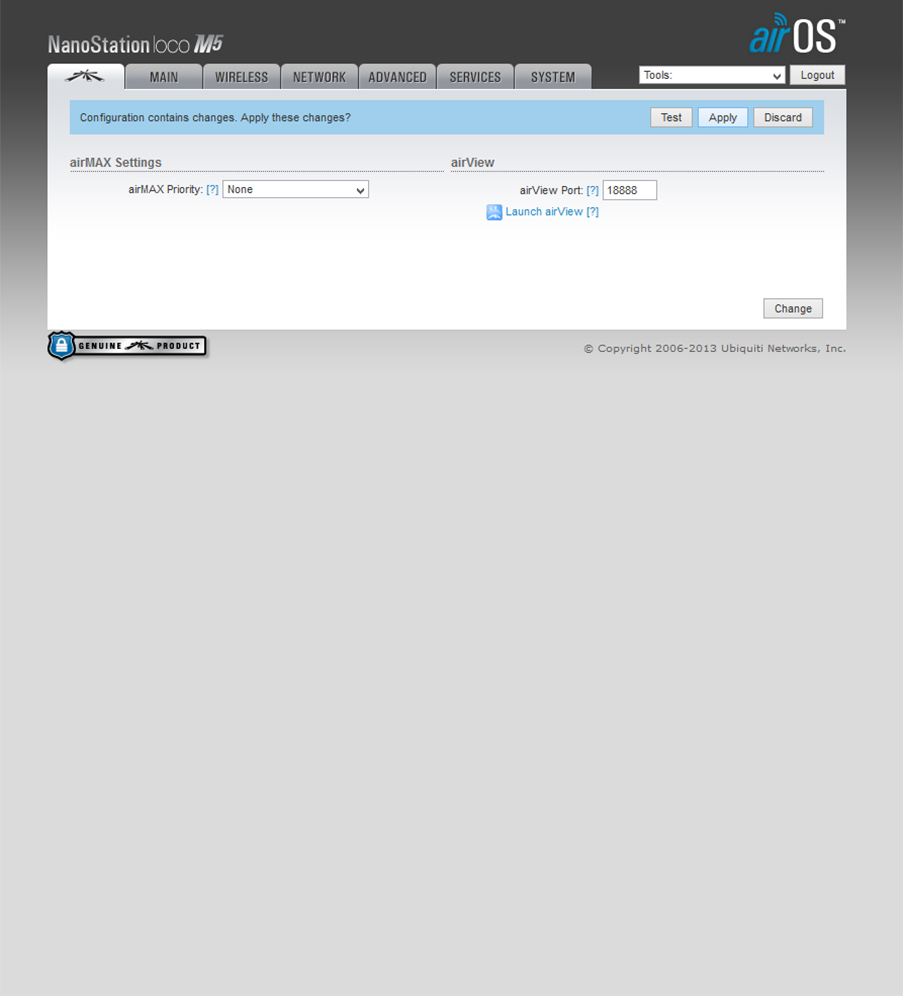
 Navigate to the Ubiquity tab
Make sure to match these settings and hit apply .
Once you have completed both Nanos you can install them making sure that they both have line of sight between the devices, some minor adjustments can be done to ensure a good connection.
The Nano’s will lock onto the network by themselves or you can click on the SELECT button this will open up a tab that will display any Access Points in the area select the correct one and lock onto it.
If you wish to use the same settings as this tutorial you can download the configuration files here Configuration files- Nano M5. Download them onto your computer’s Desktop
There is a READ ME File which has the Configuration information that was changed on the two Nano Station locos
Once you have completed setting up your Point to Point Bridge we can focus on the location.
Once you have Downloaded the zip file go ahead and unzip it with your favorite extracting software like Zipeg (Macintosh) or Winrar (Windows) Linux (Archive Manager)
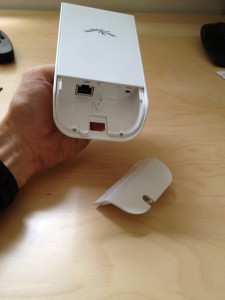
Troubleshooting: How To Reset your Nano Station M5
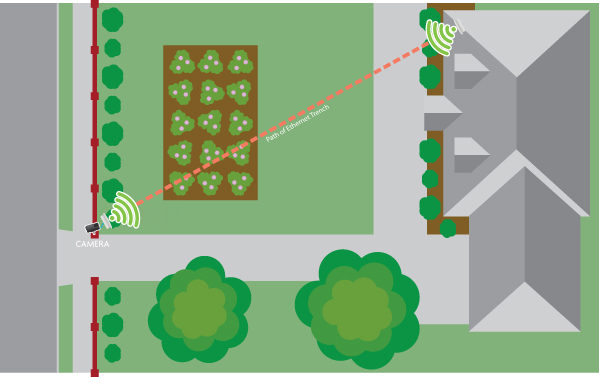
In this illustration you can see that the Nano (Access Point) is in line of sight with the Nano (Station) that has an IP camera connected to it.
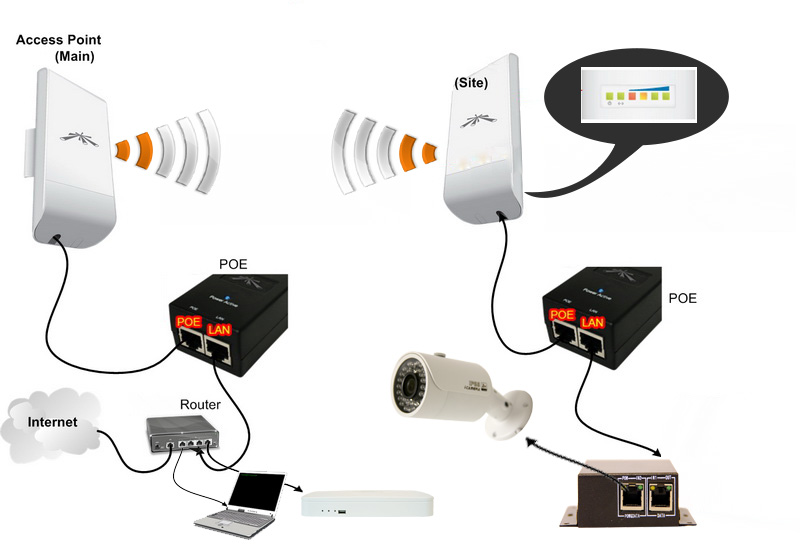
The Connections are simple
Site Side
- Connect the camera that you need to add into your Main network onto its own PoE Switch “POE Port”
- Attach the “LAN” Cable on the single port PoE switch to the “LAN” on the PoE switch from the Nano (Site)
- Attach the “PoE” Cable to the Nano Station “LAN” port.
Main Side
- Connect the Nano Station to its PoE switch (“LAN” to “PoE”)
- Attach an Ethernet cable from your Router LAN port to the “LAN” port located on the Nano stations PoE switch.
*NVR connections are simple simply attach your NVR to the Router by attaching a cable in between the LAN port on the NVR to the LAN port of your router.
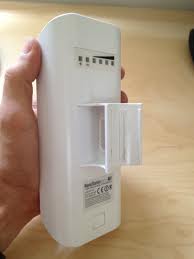
Mounting Options:
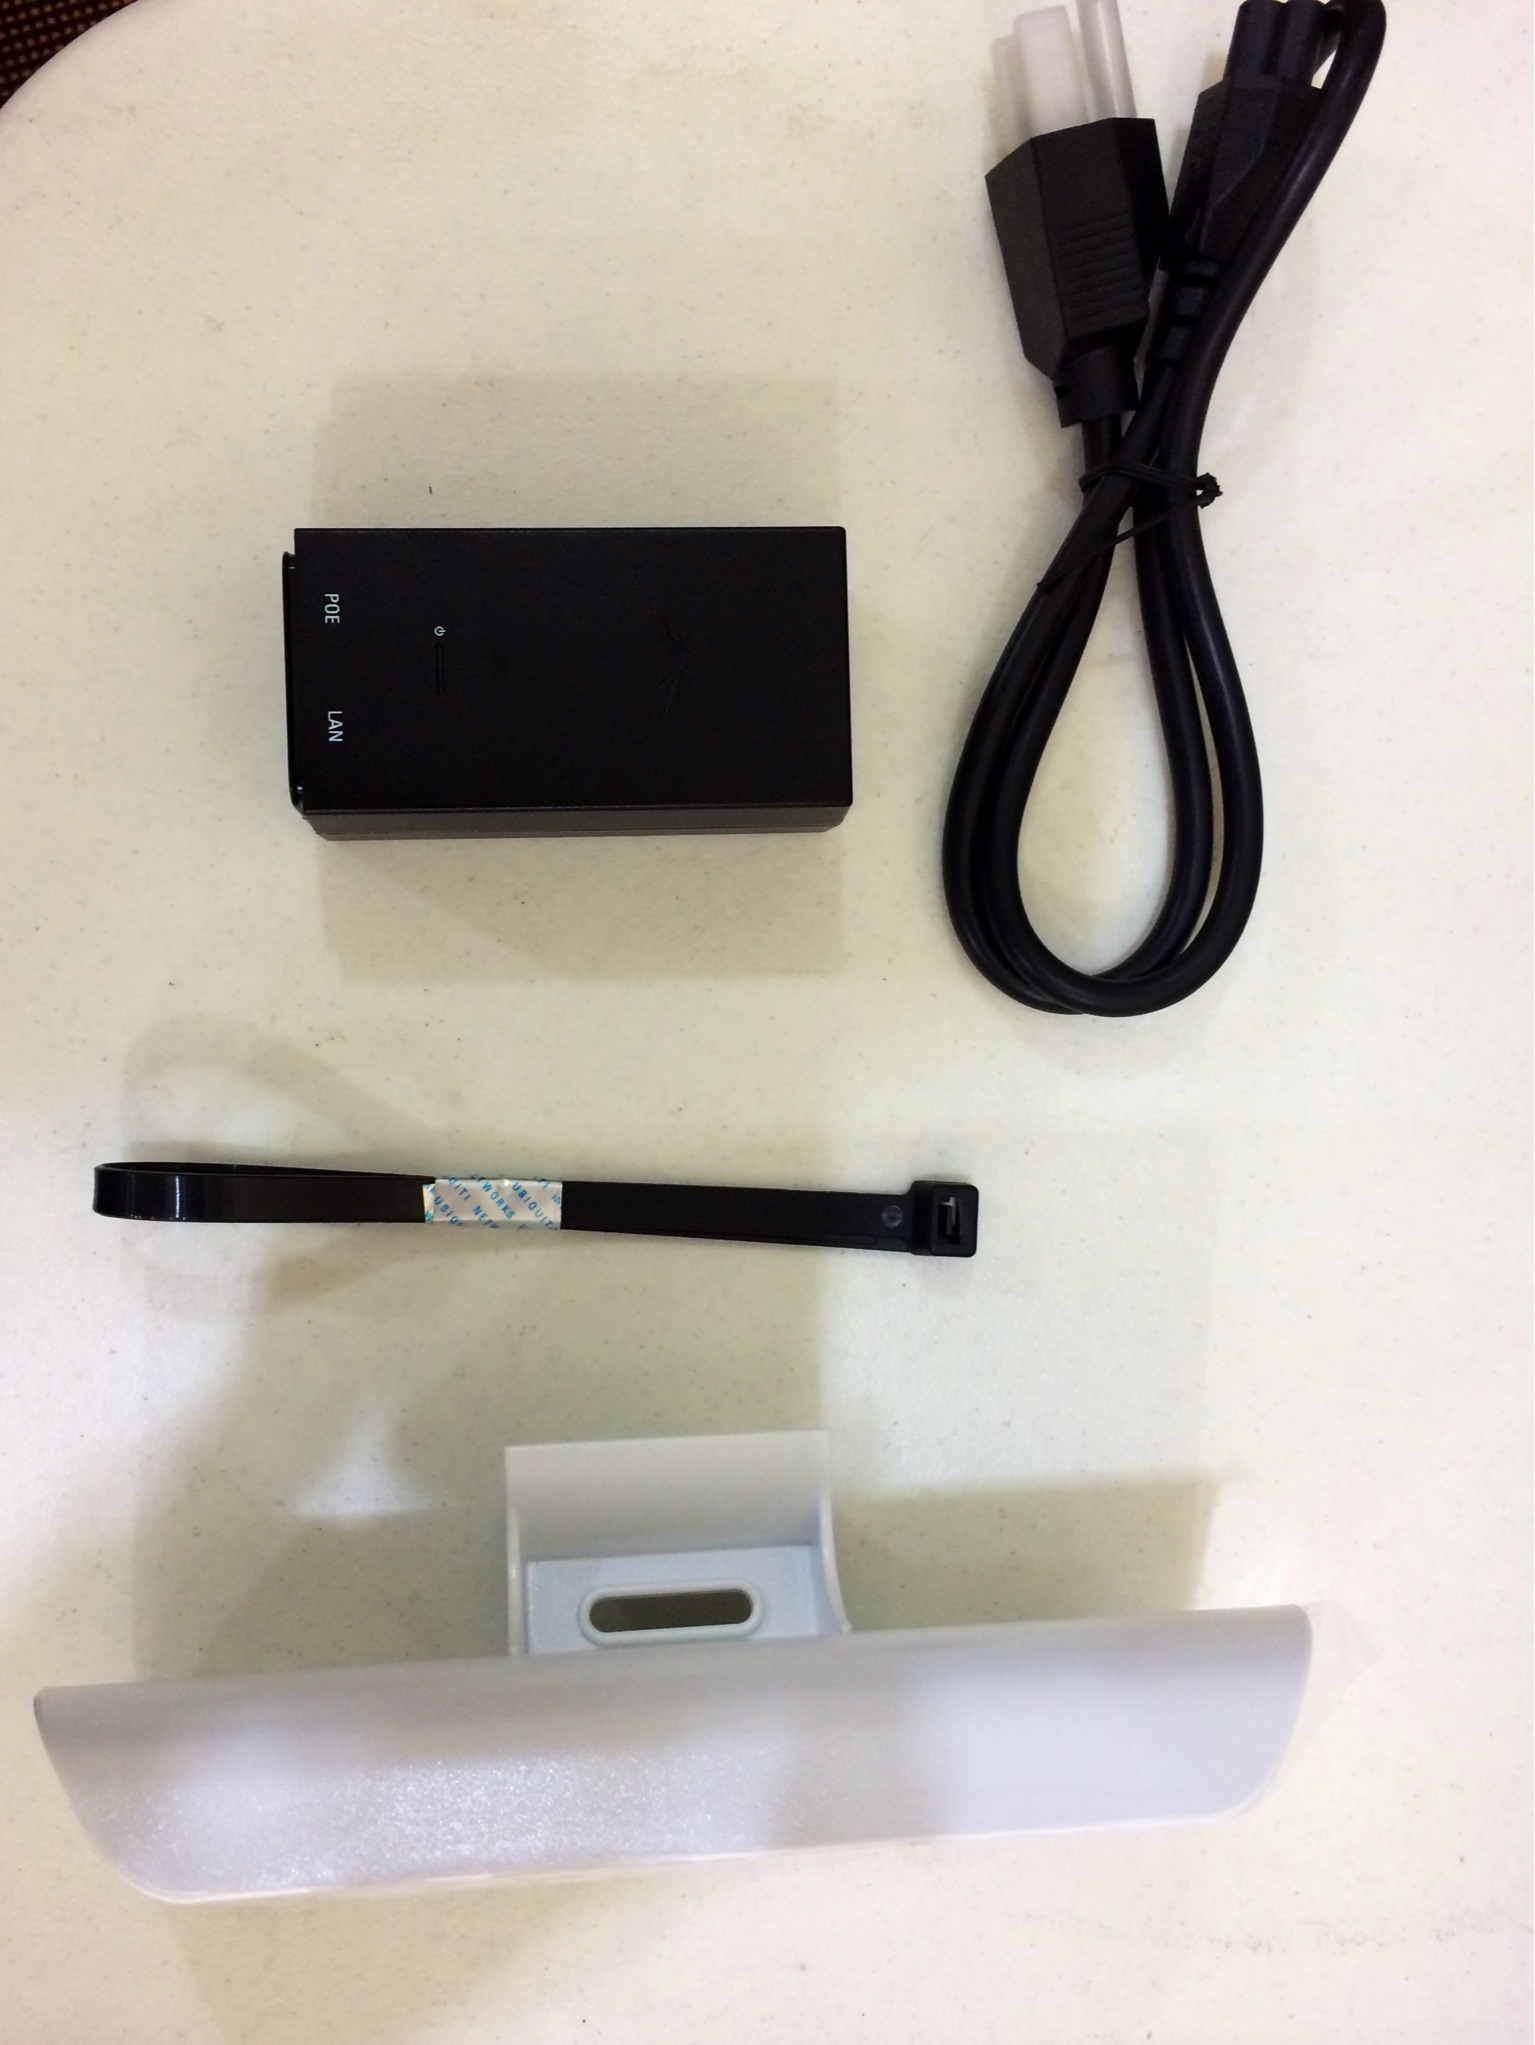
The Nanos come already designed to be attached to a pole, there is a supplied Nylon Zip Ties.
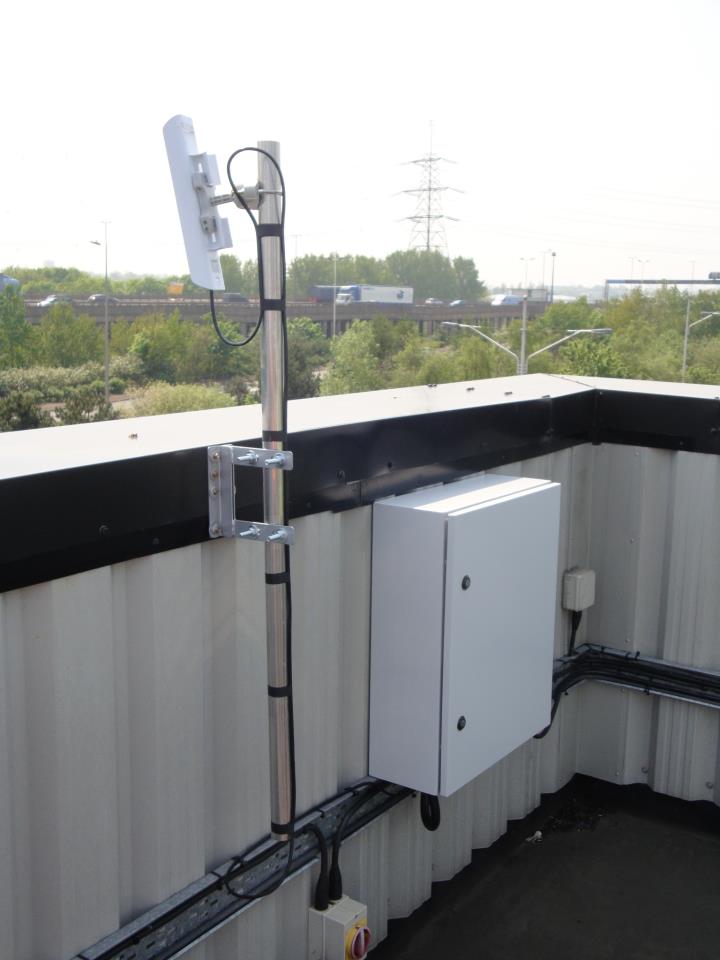
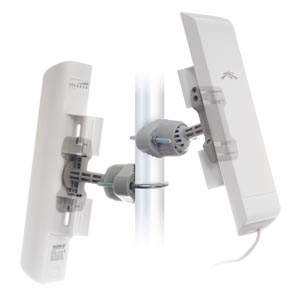
The above illustration shows a nano installed using a tilt bracket .
This bracket is used to better position the Nano so that the bridge can be successful as both nanao’s need to be in line of sight.
Troubleshooting Tips:
If you have successfully connected all of the devices and you cannot seem to ping your camera on any device on the Station side, make sure that the WDS is enabled in both the AP and Station.
If signal is poor you can use the AirView Application to check your signals. If you are not that tech savvy you can use the Signal bars behind the units or simply log in to both and tweak your nano’s position.
Once you have completed mounting your camera and Nano stations as well as configuring your Nano’s, your system should be up and running. If you need to learn how to setup your DVR, see setup up your NVR
Also, to view your cameras outside your network, some port forwarding is needed. Since this is something that manufactures manage differently here is a link where you can search your Router’s make and model and find the correct way to complete this task. Ports that need to be opened are 37777,37778 and HTTP ports
You can also read this article
Basic Port Forwarding for the DVR & NVR
Our tech gurus can help you with this task as well. Never hesitate to give us a call and ask for any advice or help you with your system.
Enjoy!