Find Motion Footage Quickly on your Security NVR, or DVR
Hi everyone, Joe here, and today we have a really awesome tutorial for you on “How to Find Motion Footage Quickly on your Security NVR, or DVR”. We’ve written an article detailing this information, as well as created a video guide for your convenience as well. While the video will just cover the process itself if you’re looking to get it done fast, this article will go into more details and cover some other aspects of motion detection besides just “How to Find Motion Footage Quickly on your Security NVR, or DVR?” Motion Detection is an amazing Technology and it helps to know everything you can about it in order to fully take advantage of all of its features, and use it the most effectively.
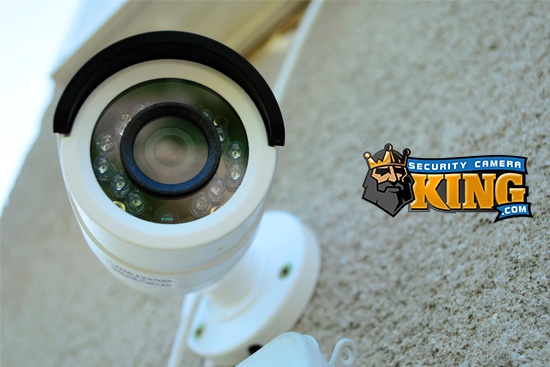
If you want to know How to Find Motion Footage Quickly on your Security NVR, or DVR, you’ll first need to have motion detection set up. The best way to do this is to first ensure that all of your cameras are properly connected and working. Motion detection only works well when the camera view is focused, and stable. If your camera is showing black and white during the day, are fuzzy, out of focus, or simply not working, make sure to solve any of these issues first. You’ll also need to make sure you have a hard drive installed in your recorder, that was already formatted correctly. Most of the time this is already the case, and if you’re already recording regular, non-motion footage then its safe to say you do properly have a Hard Drive installed, and formatted inside your security recorder.
Once the hardware stuff is out of the way, you’ll need to set up your cameras to record on motion in order to be able to Find Motion Footage Quickly on your Security NVR, or DVR. The first step in this process is to go to the ALARM menu in your recorder. You will have to log in using your pattern or password if you haven’t done so. Next, from the main page access the ALARM menu mentioned above. Then, head down to the section called Video detect. from here, you’ll see each camera channel has its own settings, and you’ll be able to view them one at a time. On each channel you want motion detection enabled, you’ll have to go through and check ‘video detection’ so that it is enabled, and hit apply or ok.
You’ll also have the chance to click the region button and make adjustments to the region settings, the threshold, and the sensitivity too. Once you have finished making adjustments, make sure to do so for each camera you want motion working on, then apply and head back to the main menu. You’ll need to access the Storage menu next. From here you’ll see another submenu called ‘schedule’. Go ahead and access the schedule. within this menu, you’ll see a list of colored bars, across a time graph listed over 7 days. This place will make it so you decide what days, and time,s the system is recording motion vs regular footage. Know that later when you try to Find Motion Footage Quickly, any times you haven’t designated motion recording – it won’t happen! Once you have your schedule set, hit okay and apply and you’re good to go!
You’ll want to possibly run some tests, go walk around in front of a few cameras, or let time and the surrounding environment produce natural motion encounters such as people walking or cars driving by. You can also add the recorder system to our app, elite viewer pro, for remote viewing and alerts. this way you’ll know exactly when you’ve got a motion event triggering the system to record! Once you’re satisfied with how much motion testing has been done, or the time has passed, its time to playback footage.
We’re going to go to playback from the menu screen, or from the live view right click and hit “search”. You’ll notice that there’s a timeline of color-coded footage at the bottom seek bar. you’ll also notice a list of camera channels and a calendar to the right displaying a dot beneath each day you have available footage. From here, you can deselect any cameras you don’t want to focus on, and leave any selected up to four. To Find Motion Footage Quickly, you can just look at the seek bar! If its yellow, there motion footage there, which is different than the standard recording of ‘green’ You can also scroll into the bar to zoom in for more precise time breakdowns. Additionally, you can deselect any footage type you don’t want to see so that only the motion footage remains visible as a playback option!
Thanks for joining us today as we showed you how to set up motion, and lay it back from your recorder. Check out our video guide son these for a much more detailed look at the visual steps of how to do this! if you enjoyed the videos or found them useful, please toss us a ‘like’, and don’t forget to hit that subscribe bell for more CCTV content in the future. Until next time, stay safe!
Related: Best Active Deterrence Camera Set up
Related: How Does CCTV Motion Detection Work
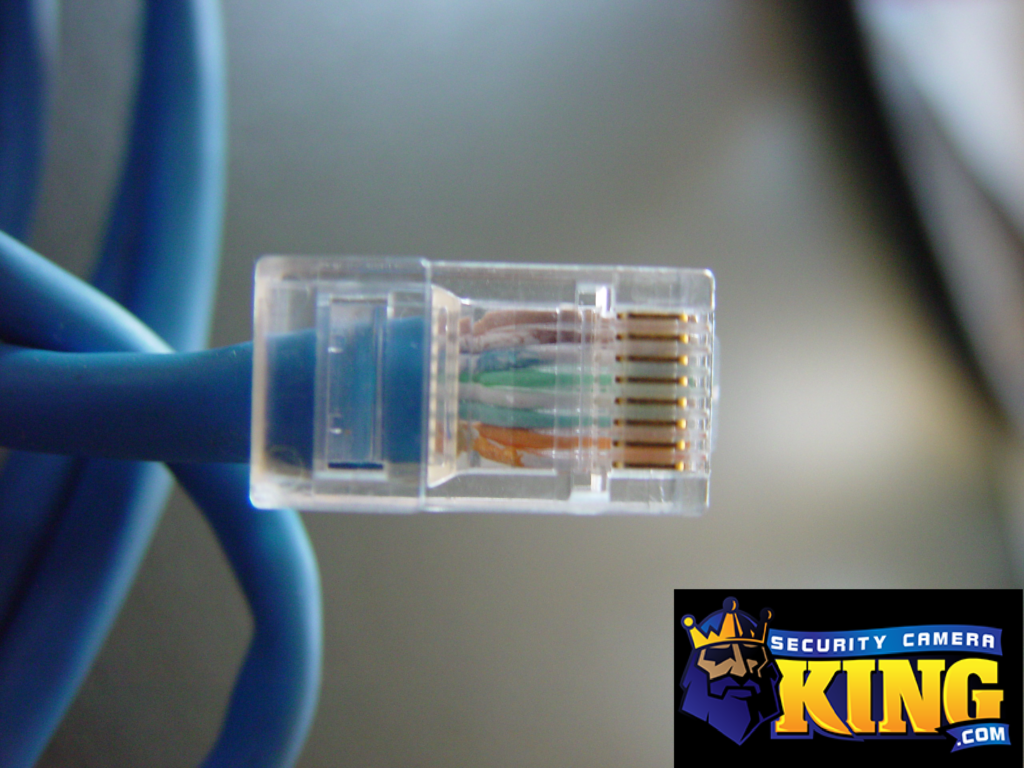
Related: How to terminate and test Ethernet Cable
Related: What’s the difference between DVR and NVR?
Related: What’s the difference between H264 and H265?
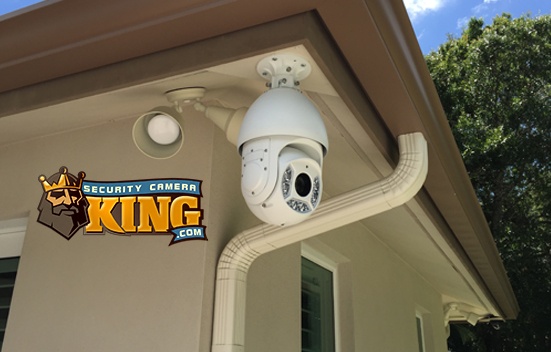
Related: IP PTZ Security Cameras – All There is to Know
Related: Resolution, and why does it matter?
Related: What are active deterrence cameras?
Find Us On: Facebook | Twitter | YouTube