The technology behind an IP security camera system is constantly evolving and there have been some nice improvements recently. Here at TechPro Security Products, we offer 3 types of systems including ones using IP cameras to provide the video. Although IP cameras may cost a bit more, they are also going to give you the highest resolution available on the market today. This article is going to explain how to set up this type of security camera system using a very useful configuration because some people are a bit intimidated by the networking involved.
There are several different ways that an IP surveillance camera system can be set up. This article is going to go over the type of set up which uses a NVR with two Ethernet ports. This configuration is great because it can be used to avoid putting an unnecessary bandwidth load on a network. All of the IP cameras that we carry give you megapixel quality video. The data involved in transmitting the video from even a one megapixel camera is fairly significant. If you are working with several of these cameras or ones that provide higher resolution (we now carry up to 12 megapixel cameras!) then transmitting all of that video will use an immense amount of bandwidth. This will cause the most common network to not function correctly. Not only can it cause the camera system to not work correctly, it will probably mean that nothing else will be able to use that network correctly. The solution to this is using the second Ethernet port to keep the data involved with the video transmission separated from the main network.
For the purposes of this article we’ll go over setting up a 64 channel NVR with 64 cameras using the dual Ethernet port method. This set up will require the following equipment.
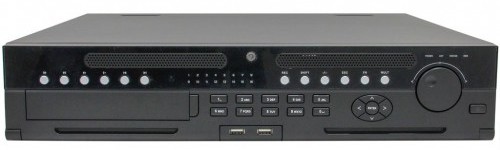
A 64 channel NVR (Model# NVR-ELHS-64-4K-DH)
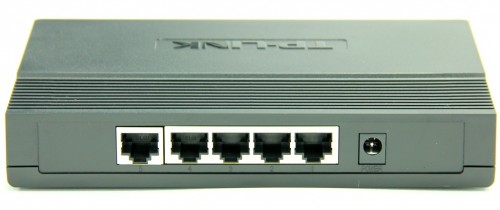
A simple gigabyte switch (Model# Switch-5G)
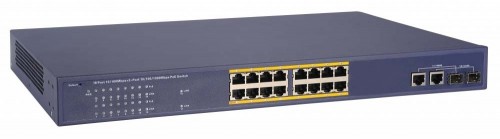
A 16 channel POE switch. (Model# POE-16MB2GP)
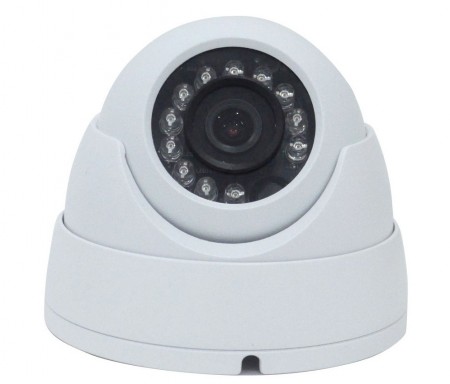
An IP camera. (Model# IPOD-EL3MPIR50)
The first step in this type of setup is putting together a temporary configuration so that you can initialize each camera (see Diagram 1). You will need to have a computer, a POE switch and the NVR (using Ethernet port 1) all connected to the same router. You will also need to make sure that you have the NVR’s Ethernet port 1 configured to work with your network.
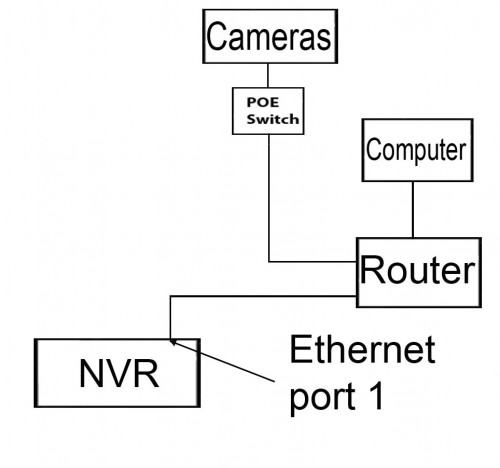
Diagram 1
This layout will allow you to power each of the cameras and then log into them from the computer in order to get them set up to work with your NVR. The main thing you will need to do while logged into the camera will be to enable motion detection and assign the camera a unique IP address for the IP scheme that will be assigned to the NVR’s second Ethernet port. Changing the camera’s IP address is the last thing that you should do because you will not be able to access it from that computer once this change has been made and saved. There may be some other settings in the camera which will help to customize it for the application which you have planned for it. It’s also a good idea to label each camera with the IP address which you have assigned to it.
Once all of the cameras have been initialized, then they are ready to be set up in their final configuration (see Diagram 2). You will need to go to the network page of the NVR and choose “Multi-Address” from the drop down menu, this will allow each ethernet port to be set to a different IP scheme (for example – Ethernet port 1 can be set up to use the 192.168.1.1 scheme and Ethernet port 2 can be set up to use 10.1.1.1). This is a key feature in keeping the network which is handling the video transmission, from the cameras to the NVR, separate from the main network at the location.

Diagram 2
At this point you should have Ethernet port 1 set to match the IP scheme of the main network, which will be used for remote connection. You should also have Ethernet port 2 set to a different IP scheme and all of your cameras set to unique IP address within that scheme (for example – Ethernet port 2 can be set to 10.1.1.1 and each camera would be set to 10.1.1.x, where x is unique to each camera).
The last step is to get each camera assigned to its own channel on the NVR. This is done by assigning the IP address from a camera to the particular channel which you want to associate with that camera’s live video feed and its recorded video footage. This will be accomplished through the ‘Remote’ page of the NVR using one of two different methods depending on the model of camera that you are using (see picture 1).
If the camera is one of our EL models (for example – IPOD-EL3MPIR50) then the NVR will detect it through the ‘Remote’ page of the NVR’s menu system. Clicking on the ‘Device Search’ button will get the NVR to list any network devices which it can detect. Once that you can see that the camera has been detected then all you have to do is put a check mark next to the camera’s IP address and click on the ‘ADD’ button.
If the camera you are using is any other type then you will need to manually add it to the NVR. To do this you will first need to click on the ‘Manual Add’ button. Next, you will need to enter the camera’s IP address, user name, password and the ports that it is using for video transmission.
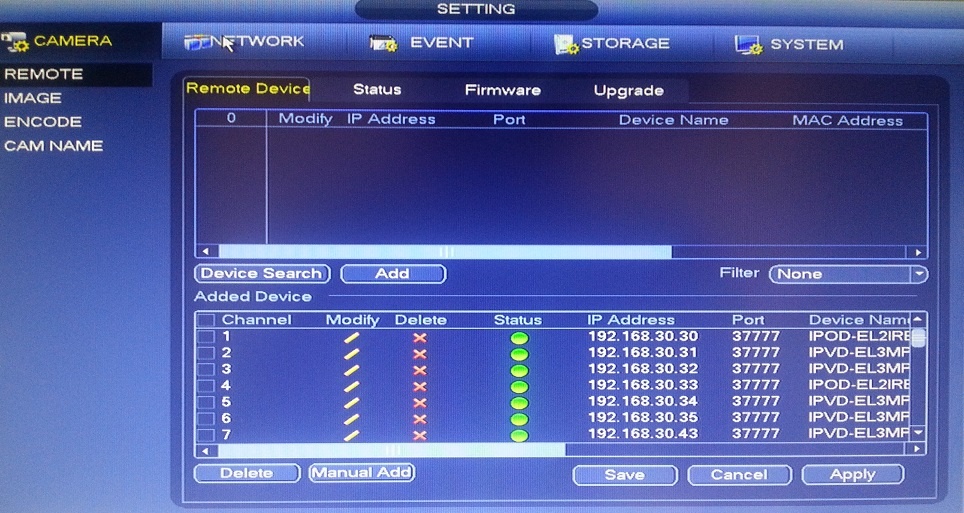
Picture 1
This type of IP camera system can be customized to suit any sized system. Our sales team can help you get the type of system which best suits your needs. Our tech support team is also available to help you get everything set up and running correctly.