How to playback Security Footage From Your Smartphone
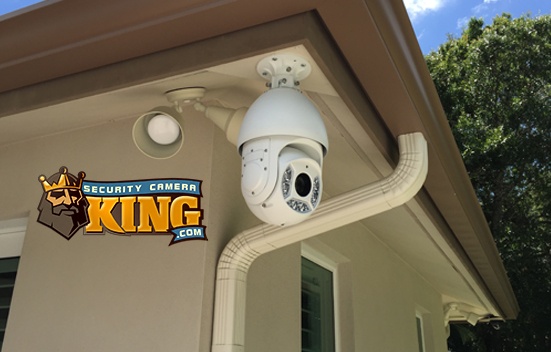
Hey everyone, Joe here from SCK with a really quick guide and video on “How to playback Security footage from your Smartphone”. This is one of the most requested and highly used features of our security systems that we carry today. Every DVR and NVR we sell has the ability to connect to the internet by using your on-site ISP network. There are several benefits to being able to do this. One of the first is the ability to monitor the system remotely. We call this process remote viewing. setting up remote viewing successfully will allow you to first and foremost, so your camera systems live video feed in realtime from either a Windows-based PC or from an apple or android based smartphone.
However, there are other benefits to having this setup complete beyond simply being able to see what is occurring right now. One of the benefits is notifications for alerts and system errors. For example, if you have Intelligent video Survellience (IVS) and/or motion detection (or SMD) rules set up on your cameras, these can work with your app to help you, the user, know when one of these rules has been triggered. This could be if someone walks into the field of view of a motion detection camera. It could also be when someone trips a tripwire or passes through an intrusion box in IVs rules. Whatever the case, your app when set up for remote viewing can react to these events by triggering notifications on the app. This lets you, the user know when and where to search for footage on your system
To take it further though, the app is also capable of playing back video data steaming, from the recorder’s hard disk. This means that you can get a notification for an event, then, from that same app watch the event the notification is referring to. sometimes this works directly from the notification itself, but it’s more effective to simply initiate playback yourself at the prospective time. That’s what this guide today is all about, showing you How to playback Security footage from your Smartphone. To do that, know you’ll need a few things done already:
- The Recorder needs to be connected to an ISP network
- You need to have the app Elite Viewer Pro installed
- Your recorder and App need to be paired for remote viewing already, that guide can be found HERE
- Though not required, we also recommend setting up notifications, that guide can be found HERE
Once everything is set and ready to go, we’ll be able to show you How to playback Security footage from your Smartphone, of course using the newly installed and paired Elite Viewer pro app. Watch the video below, and follow the quick guide to walk you through the steps! So get your smartphone ready, and we can begin:
How to playback Security footage from your Smartphone, the Steps:
- Open up the app: “Elite Viewer Pro” from your smartphone, the icon might show as EVP.
- Once the app loads, take note of the fact that you should be able to see your camera system within the list there. if you see nothing here, you might still have to set up remote viewing as we mentioned before.
- If you can see the system, go ahead and tap ‘playback’ on the top row of icons. This icon should look a bit like an old film reel.
- On the next page, you’ll see it loads a blank 4 grids. The app can only playback recordings for up to 4 cameras simultaneously, this is to reduce stutter and Bandwith clog, as well a reduce processing load on both your smartphone and the recorder.
- By default, no camera sare selected, tap the list icon in the top right corner, on the white bar.
- From here, select any cams you want up to four. If you click the select-all radio button, it will error if you have more than 4 channels and remind you only 4 can be selected. In our example we just have the one in the video.
- After selecting a camera, hit start playback, by default this will start playing recorded data from today at midnight up til the most recent recorded moment within the day.
- To select a different day, and footage type, tap the date window here to open up the calendar
- From here you can see you can choose any day with footage on it, marked by the film reel icons. You can also select all footage, or narrow it down to a specific footage type such as motion or IVS, hi okay and it should reload the camera(s).
- From here use the scroll slider to check out any point throughout that day!
Thanks for joining us today as we showed you How to Set up Auto Tracking on a PTZ. For any questions on product compatibility, availability or any other information don’t hesitate to give our Sales Pro’s a call at 561-288-5258. Don’t forget to subscribe to our YouTube Channel for more Tutorials and CCTV info. Until Next time, Stay Safe!
Related: What’s the difference between DVR and NVR?
Related: What’s the difference between H264 and H265?
Related: IP PTZ Security Cameras – All There is to Know
Related: Resolution, and why does it matter?
Related: What are active deterrence cameras?
Find Us On: Facebook | Twitter | YouTube