Learning about our DVR’s can help you better understand them and allow you to do the more advanced functions, but first you need to learn the basics. Not just the basics but also things that can make setting up the DVR an easier process. This article will go through basic functions like creating a new user and adding an IP camera, to more advanced functions like changing the IP of a camera and enabling tour. This article can be very useful for CCTV Dealers, Installers, and the average consumer. It helps explain simple tasks that you could only learn by digging through the User Manual or through experience of using the device.
1. Why does a DVR beep when I turn it on and how to make it stop?
The DVR has a built in speaker that emits a sound when there is an error or when it does a simple start-up. Every DVR emits a single beep when the unit does a complete start-up test and the single beep is the DVR’s way of sayings that is ready to go. There is no way of turning that sound off. Now when there is no Hard Drive or when the Hard Drive gives you an error of some sort, the DVR will start with the single beep and then also emit a short and long beep. If you want the sound to stop then you need to either press the power button 3 times or navigate trough the settings to release the alarm for the start up or turn the alarm off completely for future start-ups. To adjust it through the settings you need to go to Menu>Advanced>HDD Setting, and then hit Alarm Release; this will shut the alarm off until you restart. To shut the alarm off completely you need to go to Menu> Advanced>Abnormality, and choose to shut off alarm when there is no Hard Drive. In this menu you can also shut off other alarms.
2. How to change the IP address of a DVR/NVR and an IP Camera
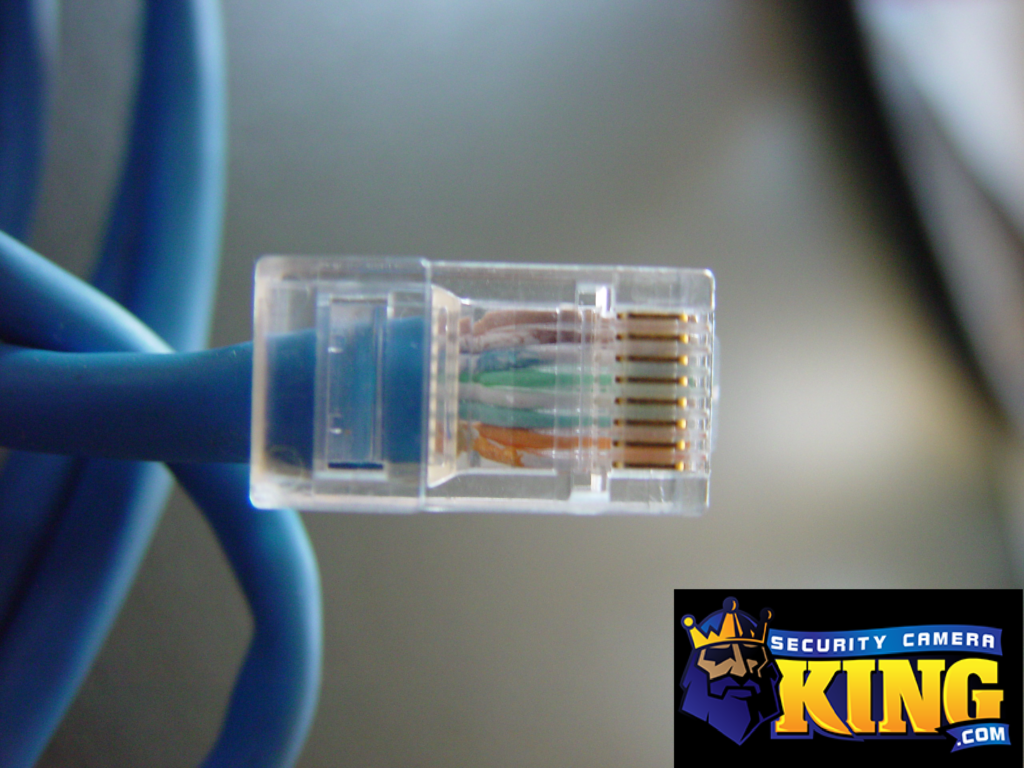
Using Ethernet cables an IP Address (Internet Protocol) are how devices communicate over a network; All of our DVR/NVR’s and IP cameras work the same. Most of our IP cameras and DVR/NVR’s by default have an assigned static IP address but to use more than one device on the same network you need to adjust the IP address for each camera. To change the IP of a DVR (from the DVR) you have to go to the Main Menu>Settings, and Network. From here you can change the IP address of the Unit and specify what ports you want to use to remote in from outside the network. When choosing an IP address make sure you put the correct Subnet and Gateway. Also make sure the correct IP scheme is used for your network (192.168.1.x or 10.0.1.x). To adjust the IP of a camera you can use the Configuration tool that is provided in the CD that comes with the camera. Start the config tool and hit the refresh button to search for the camera (the default address is usually 192.168.1.108). Once found double click it and log in using the default password “admin”. You can quickly change the IP of the camera and continue to do it for every camera you add on. Just make sure you only plug one camera in at a time or you will get a IP conflict.
3. How to change the resolution of the Camera
There are many different cameras that we sell that work at different resolutions. Most of them you can adjust using your DVR but when it comes to IP, the camera does all of the work. To adjust the resolution of an analog camera you need to go to the DVR and navigate to Main Menu>Settings, and then encoding. In this menu you can not only change the resolution but also change the amount of frames, the bit rate, and change the extra stream. The reason for changing your resolution is because not all DVR’s can record at max resolution and a high frame rate. Most analog DVR’s tell you how many frames you can have per channel at max resolution. For example, out DVR-LT16480MHD can handle 16 cameras at 30 frames per second at D1 resolution and our DVR-EL16480ME can only handle 16 cameras at 7 frames per second at D1 resolution. With IP cameras the encoding is done in the camera and the NVR is just the storage. The NVR’s do have a max bandwidth they can receive so when connecting cameras to the NVR you have to do some calculations to figure out what resolution to set the camera to. You can set the resolution of the camera on though it’s own web service but for this article I will explain how to do it thought the NVR. Once you connect the camera to the NVR you can go to the Main Menu>Settings, and then Encode. From here you can adjust the resolution, frames per second, Bit Rate, and the Extra Stream for remote viewing. When calculating the resolution for all the cameras you connect to you NVR you also need to consider the Bit Rate. Doing so will help you apply more cameras to the NVR without taking to much from the picture.
This article was created to help people understand there DVR’s, NVR’s AND cameras better so you can do more with your system without having to search through the whole manual to find or call tech support and take more time out of your day. We sell our technology to help make your lives easier, not more confusing. This is the first of multiple FAQ articles that will help you understand the basics of your devices. If you have a more complex problem please call out tech support line for further explanation at 866-573-8878.


